Giza Pyramids Ultimate Photography Guide
The Giza Plateau is an ancient open-air studio where lighting, shadow, and minimalist geometry collide. Photographing it successfully requires more than just showing up and pressing the shutter; it demands tactical timing, a strategy for navigating the chaotic logistics, and a solid plan to handle the aggressive local vendors.
After shooting the plateau extensively for my Cairo Gallery, I’ve broken down exactly how to navigate this monumental site to protect both your creative focus and your gear. This is my comprehensive, firsthand field guide to capturing the definitive geometry of Giza.
🏛️ Logistics: Selecting Your Entrance
The entry point you choose completely dictates your experience, energy levels, and creative headspace for the rest of the day. Having shot here using both entry points on consecutive days, the difference is night and day.
Day 1: The Sphinx Entrance (Eastern Gate) – The Chaos Zone
Located right in front of the Sphinx, directly accessible from the village of Nazlet El-Samman.
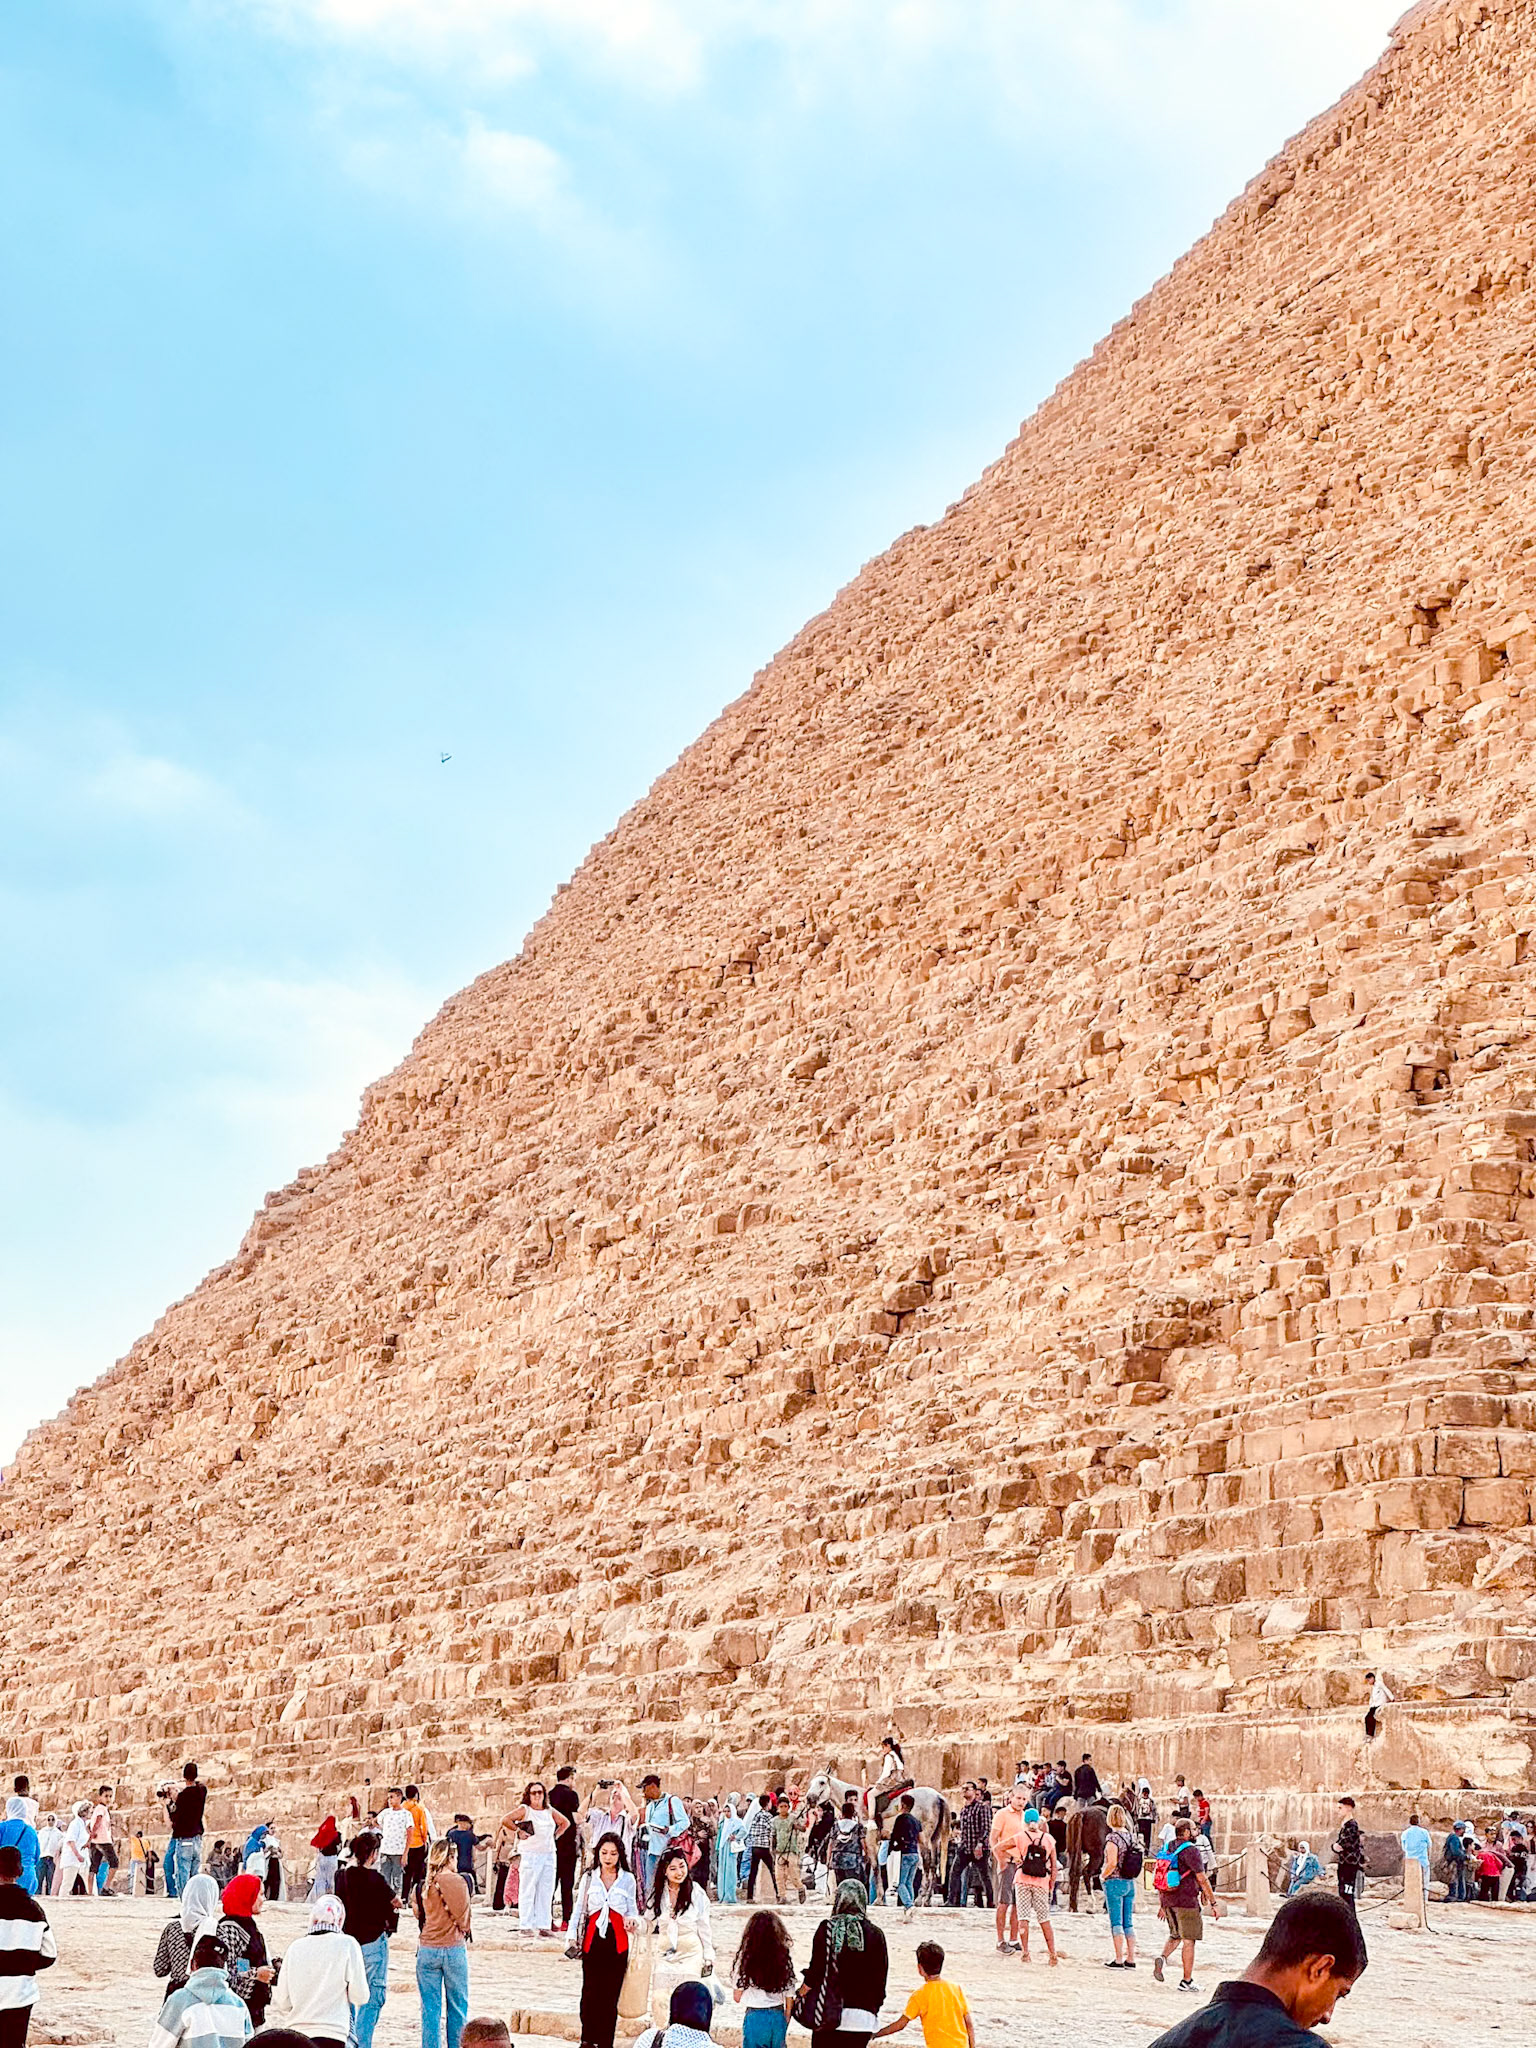
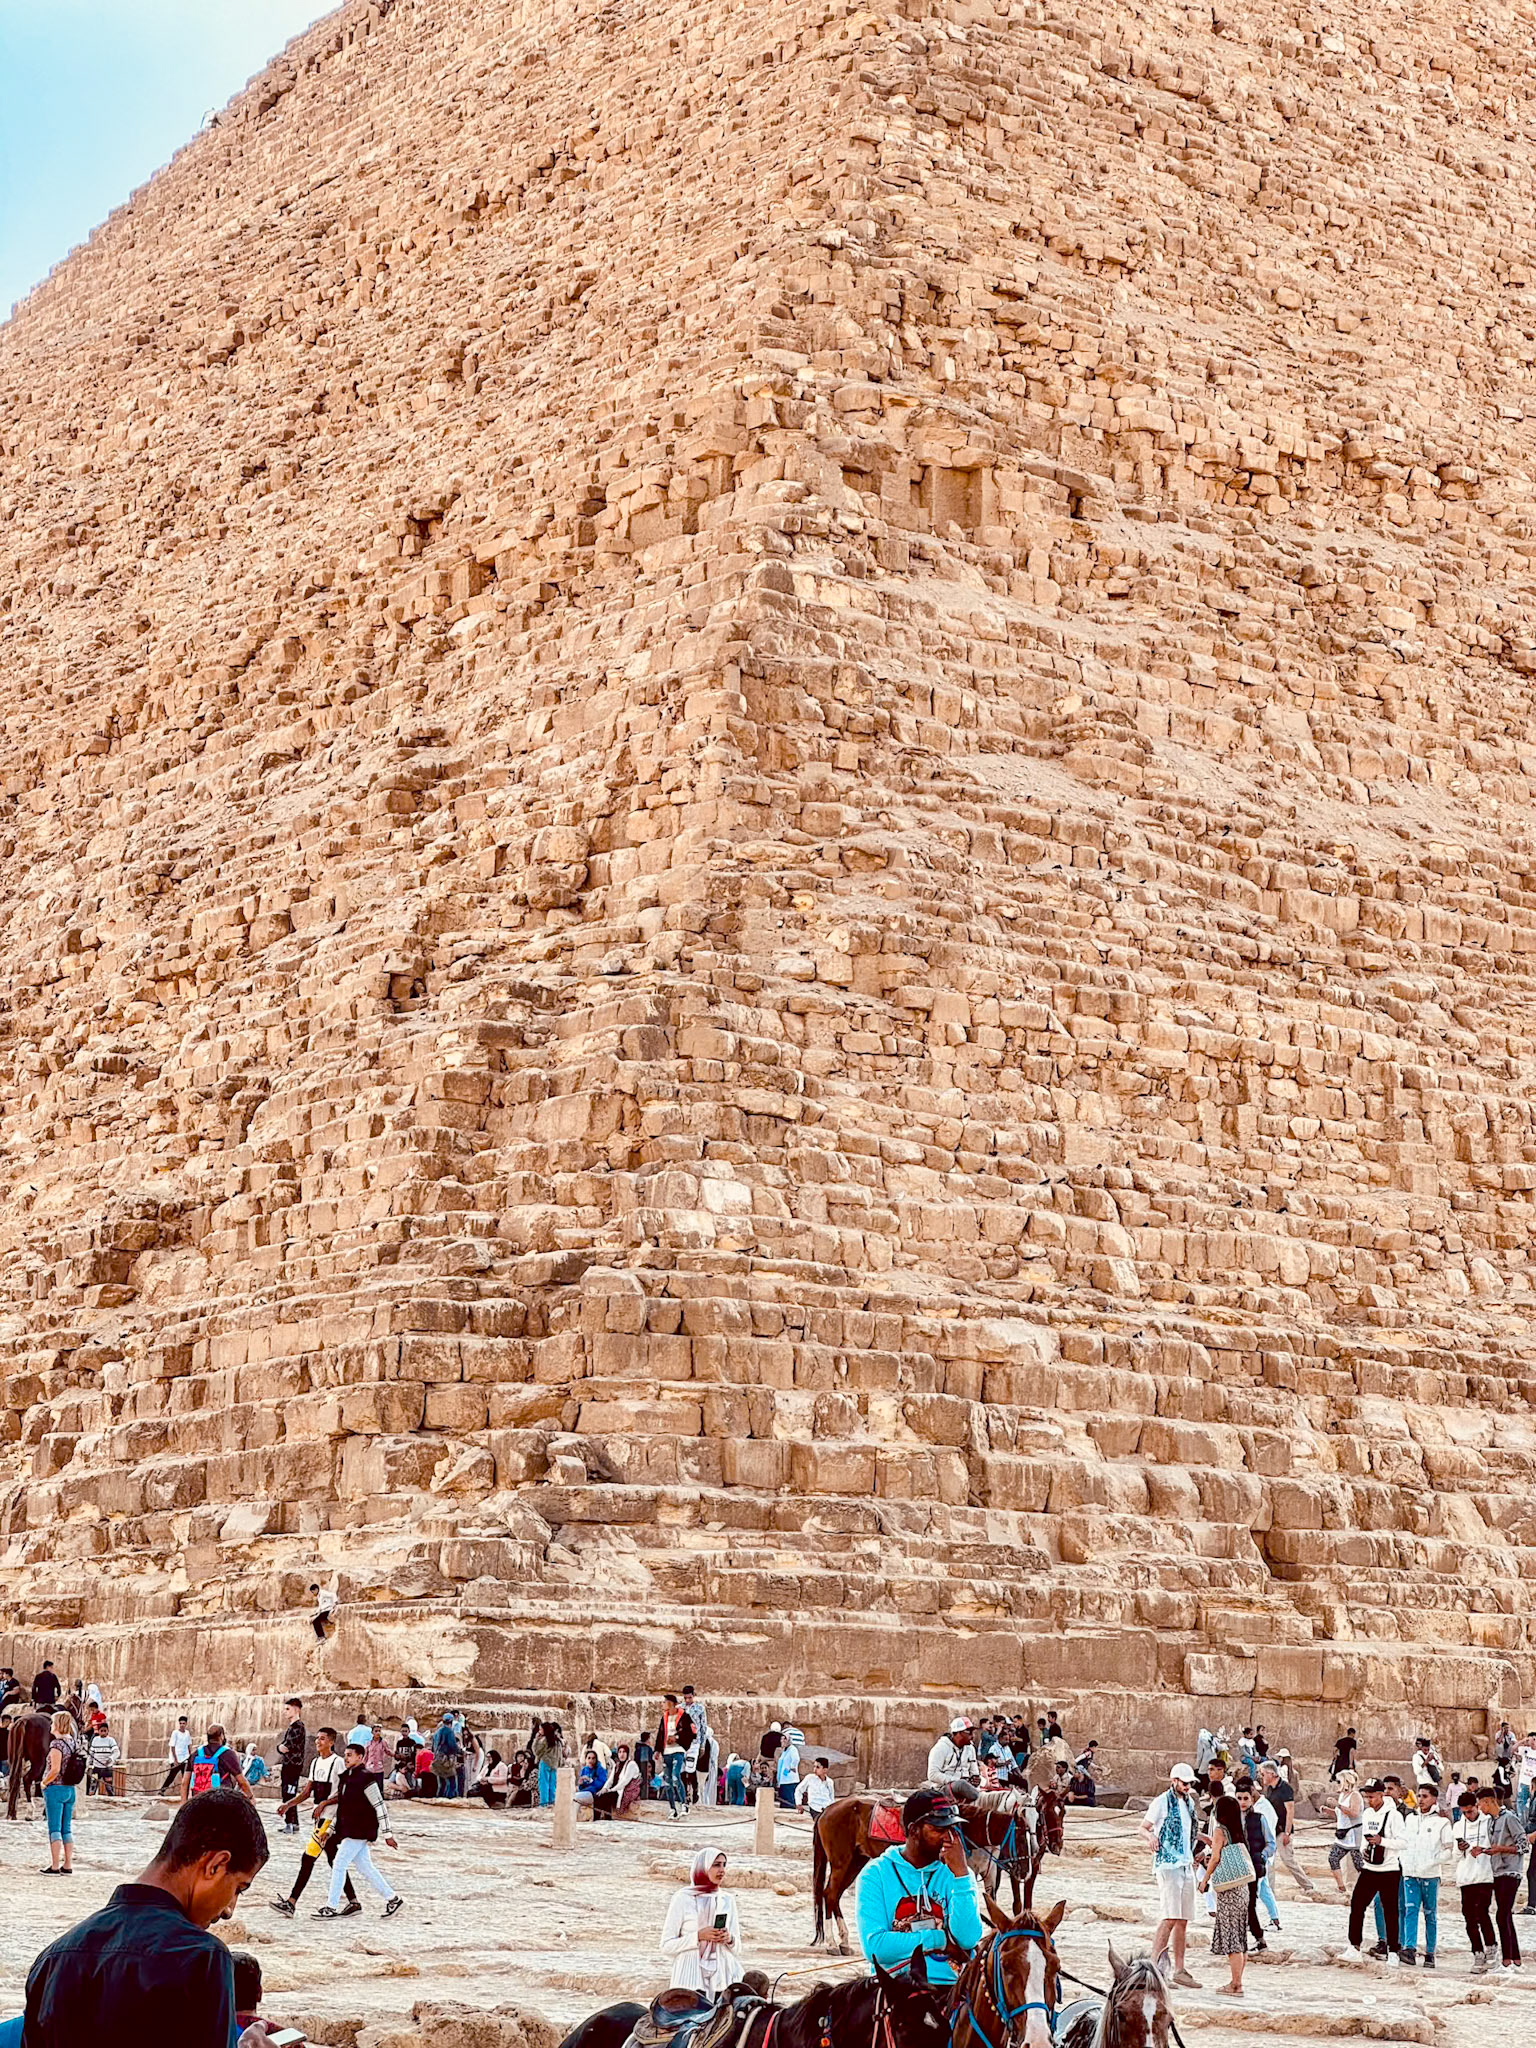
My Experience: Frankly, it was a mess. The moment you step near this gate, you are swarmed by a dense, chaotic wall of camel drivers and vendors. Because this gate sits at the lower end of the plateau, you are forced to hike uphill into the complex while constantly deflecting high-pressure sales pitches.
The Verdict: Avoid this entrance unless you have a highly specific, dawn-clearance shot of the Sphinx platform that requires immediate proximity.
Day 1 (2nd option): The Mena House Entrance (Northern Gate) – The Professional Choice
Located on the higher side of the plateau, near the historic Marriott Mena House.
My Experience: Walking through this gate on my second day was an entirely different world. It was incredibly chill, quiet, and completely lacked the frantic craziness of the Eastern Gate. The security process was organized, and the crowd density was minimal.
Why It Works Best: This entrance places you immediately at the base of the Great Pyramid (Khufu). From here, you can leisurely walk downhill toward the rest of the complex, keeping your posture relaxed and your mind focused on composition.
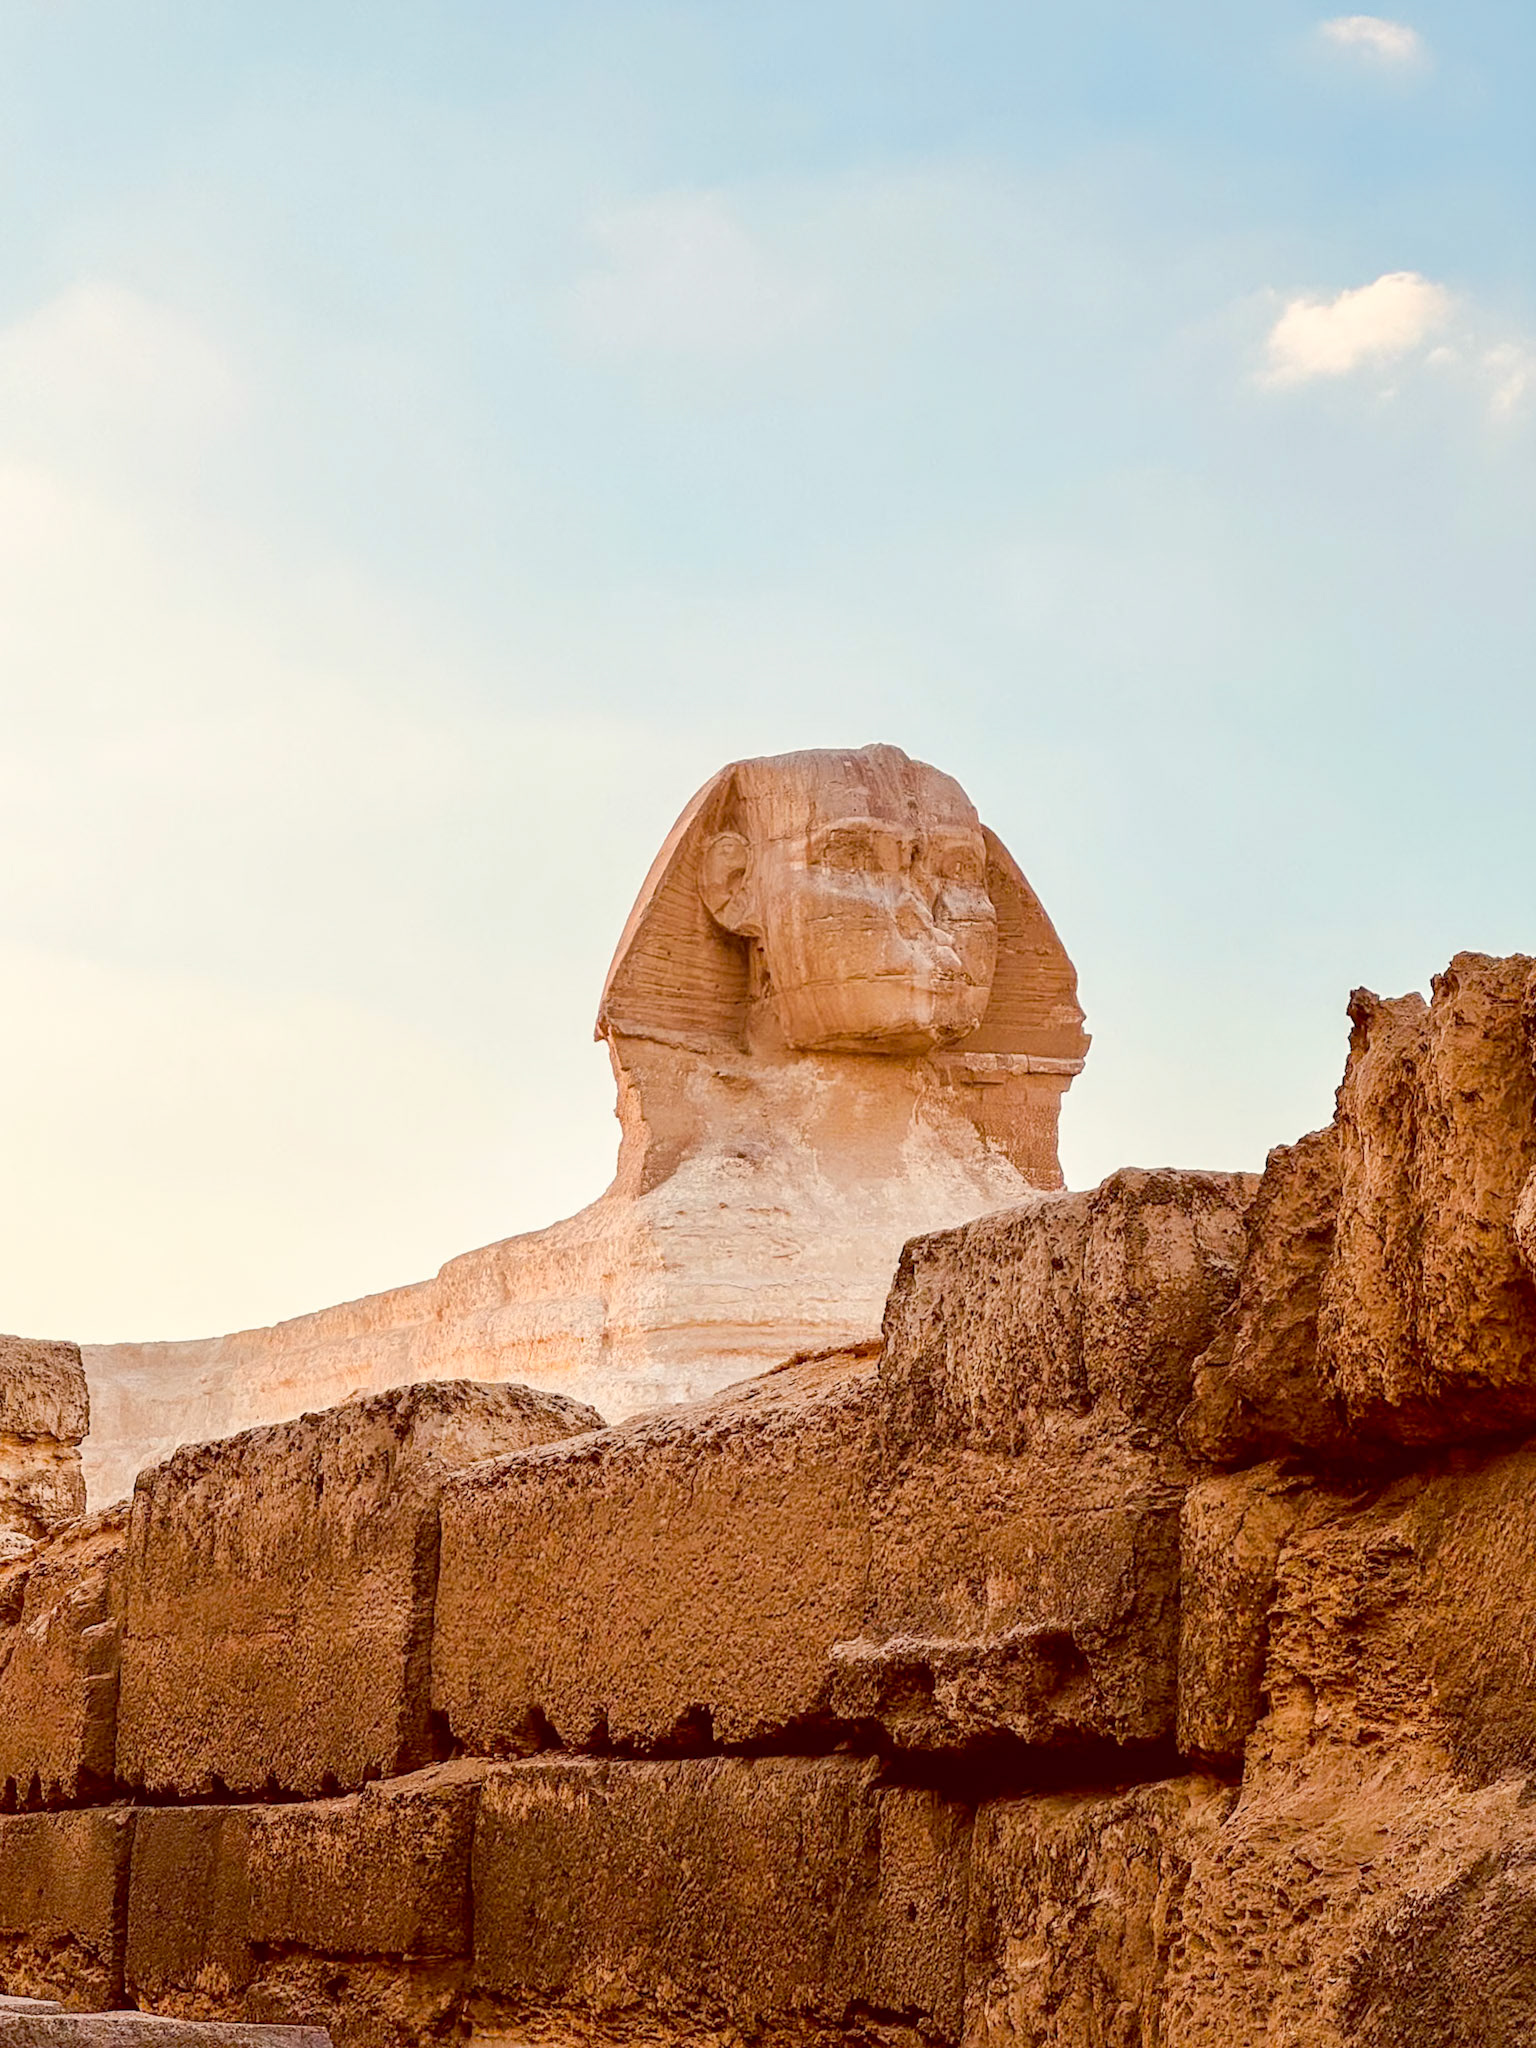
🎟️ Going Inside: Is the Pyramid Interior Worth It?
Entering the burial chambers of the Great Pyramid requires a separate ticket, and from a photography perspective, it is a highly specialized environment.
The Conditions: You will be climbing through the Grand Gallery—a steep, narrow, claustrophobic stone shaft. It is incredibly hot and humid.
Gear Constraints: Large professional cameras and backpacks are often restricted inside the narrowest shafts. You are largely limited to phone photography or very small setups.
My Verdict: Skip it if you are solely focused on portfolio-grade images. The interior King’s Chamber is a minimalist, dark granite room; the visual payoff rarely matches the physical toll and gear restrictions. I prefer to spend that prime light capturing the monumental exterior.
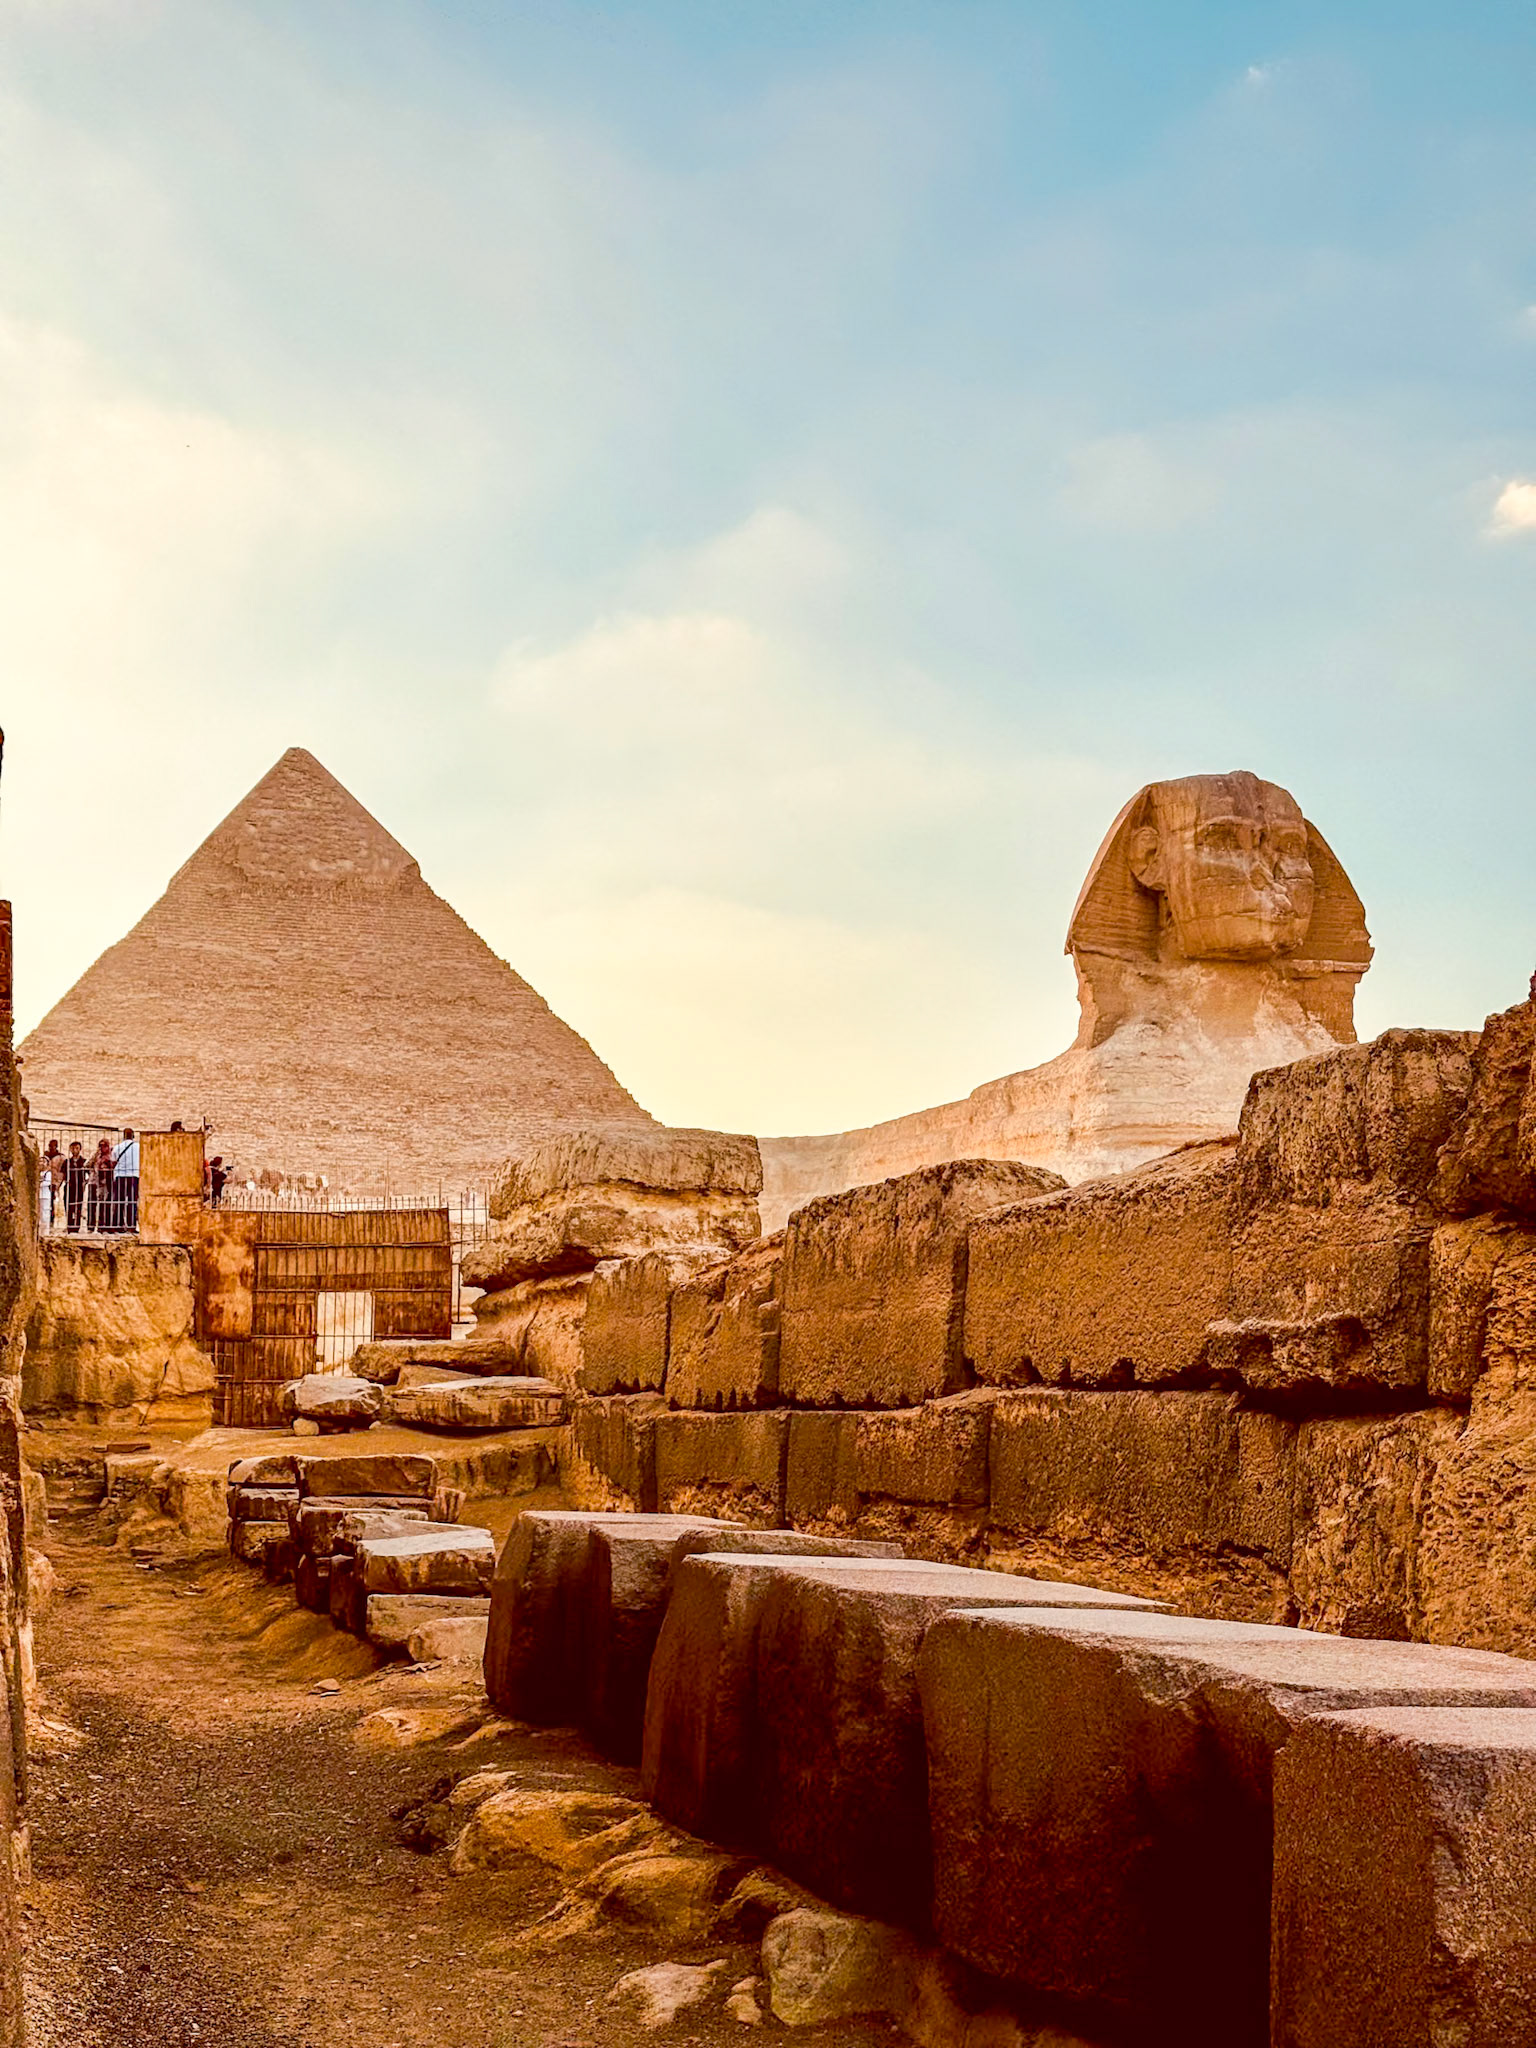
📸 The Definitive Photo Spots
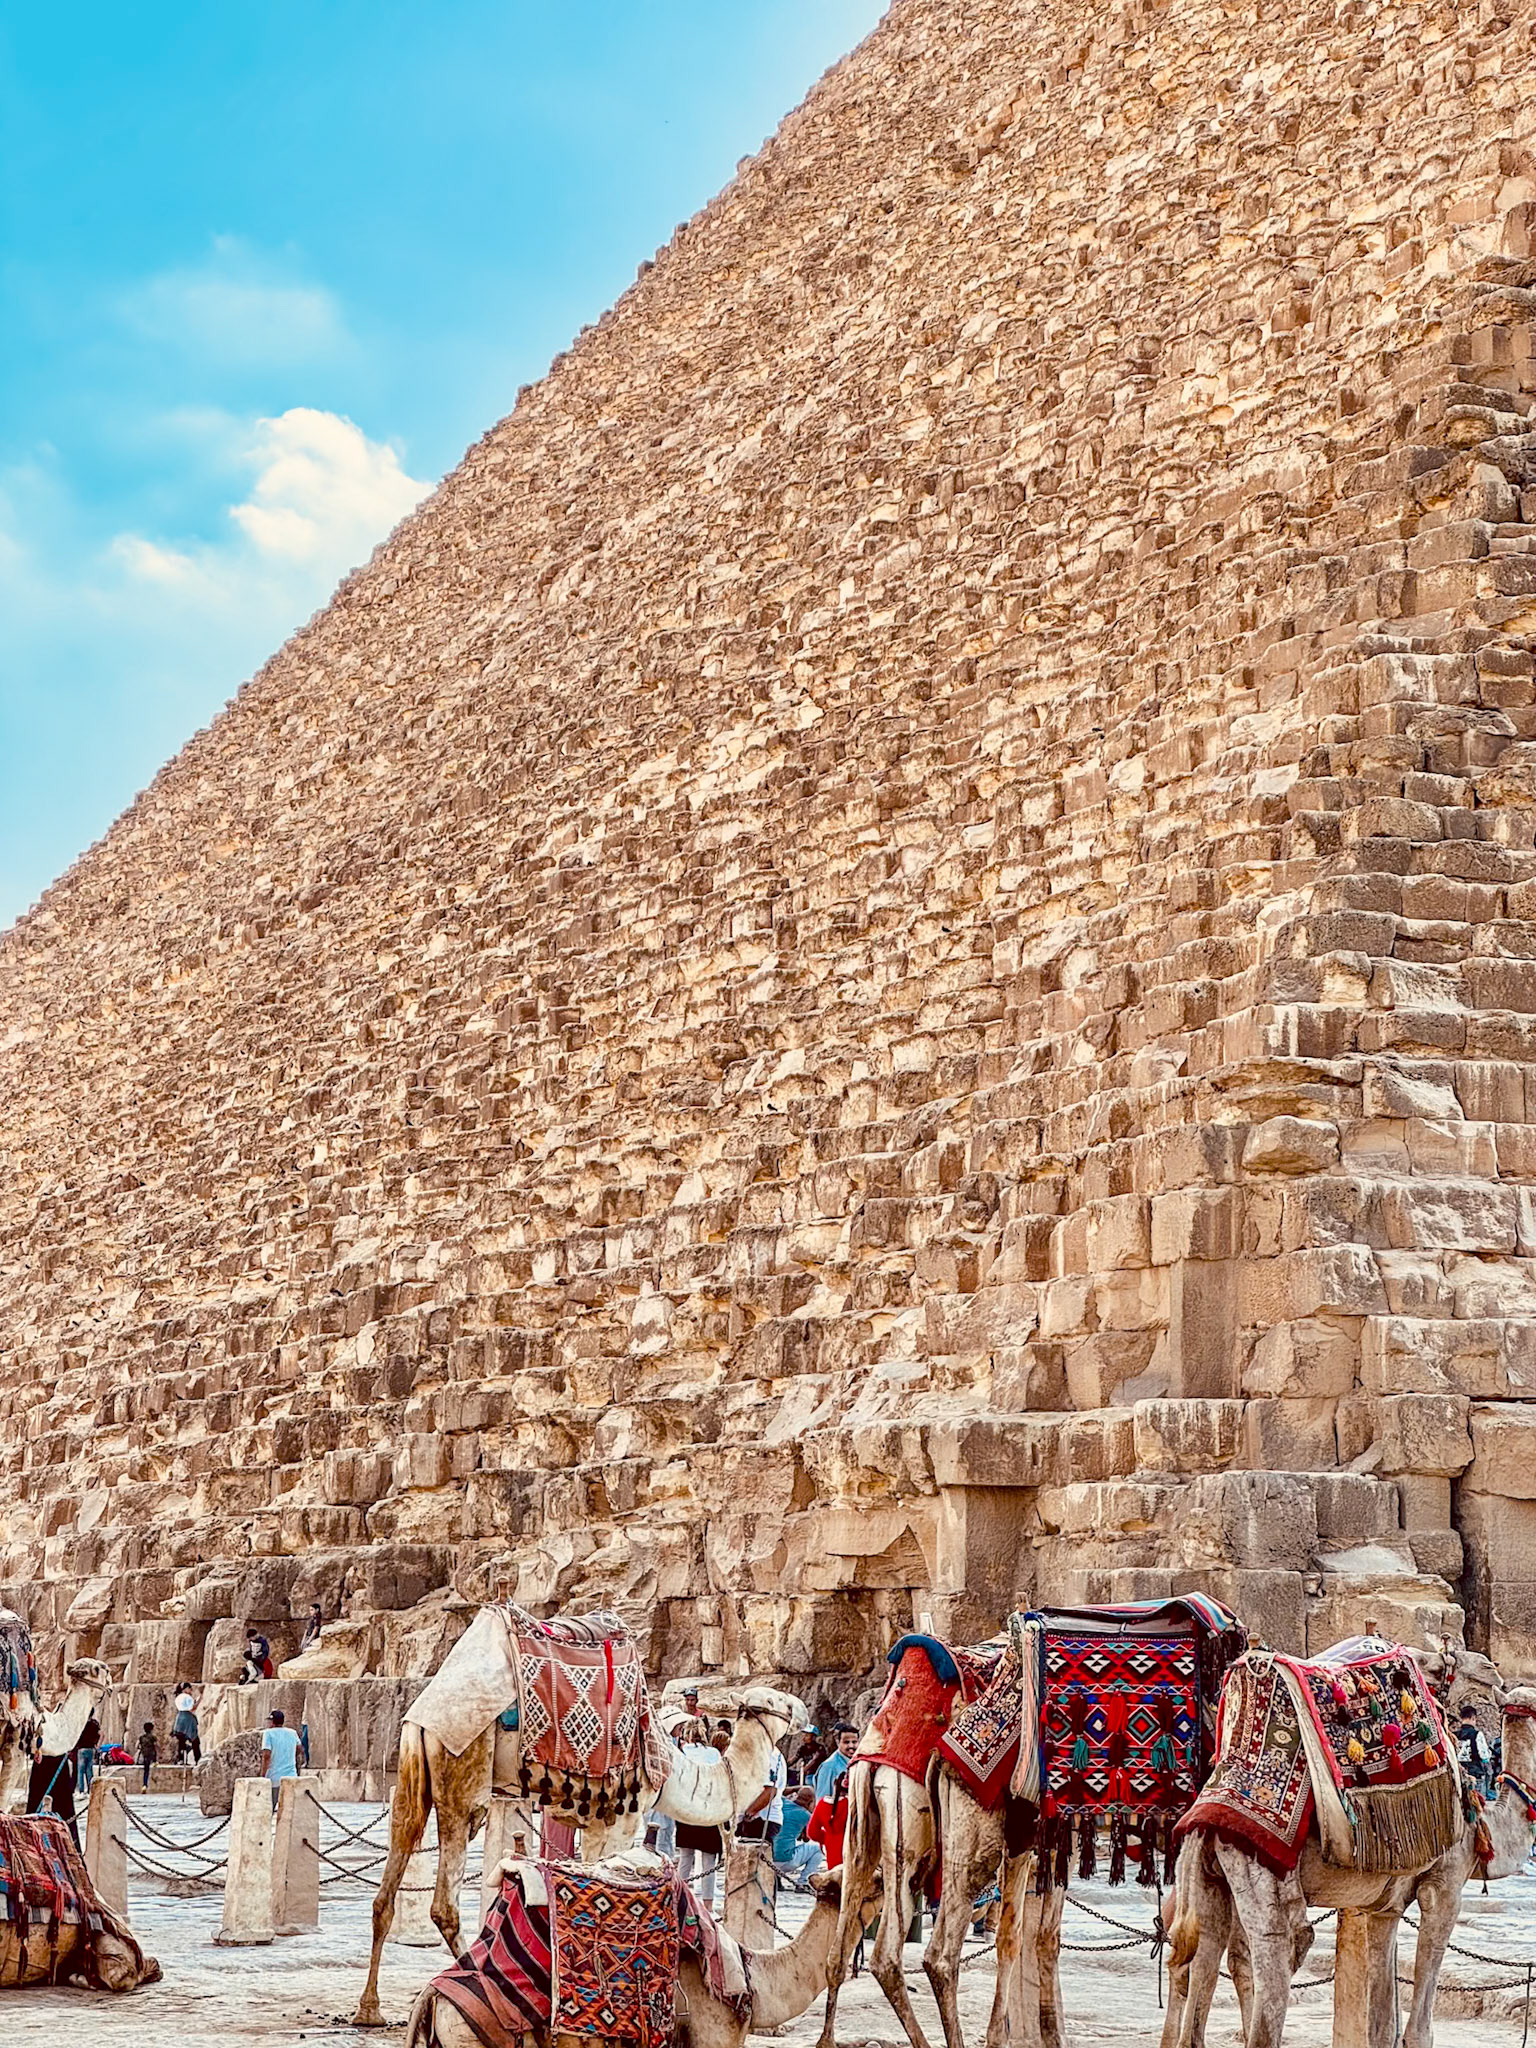
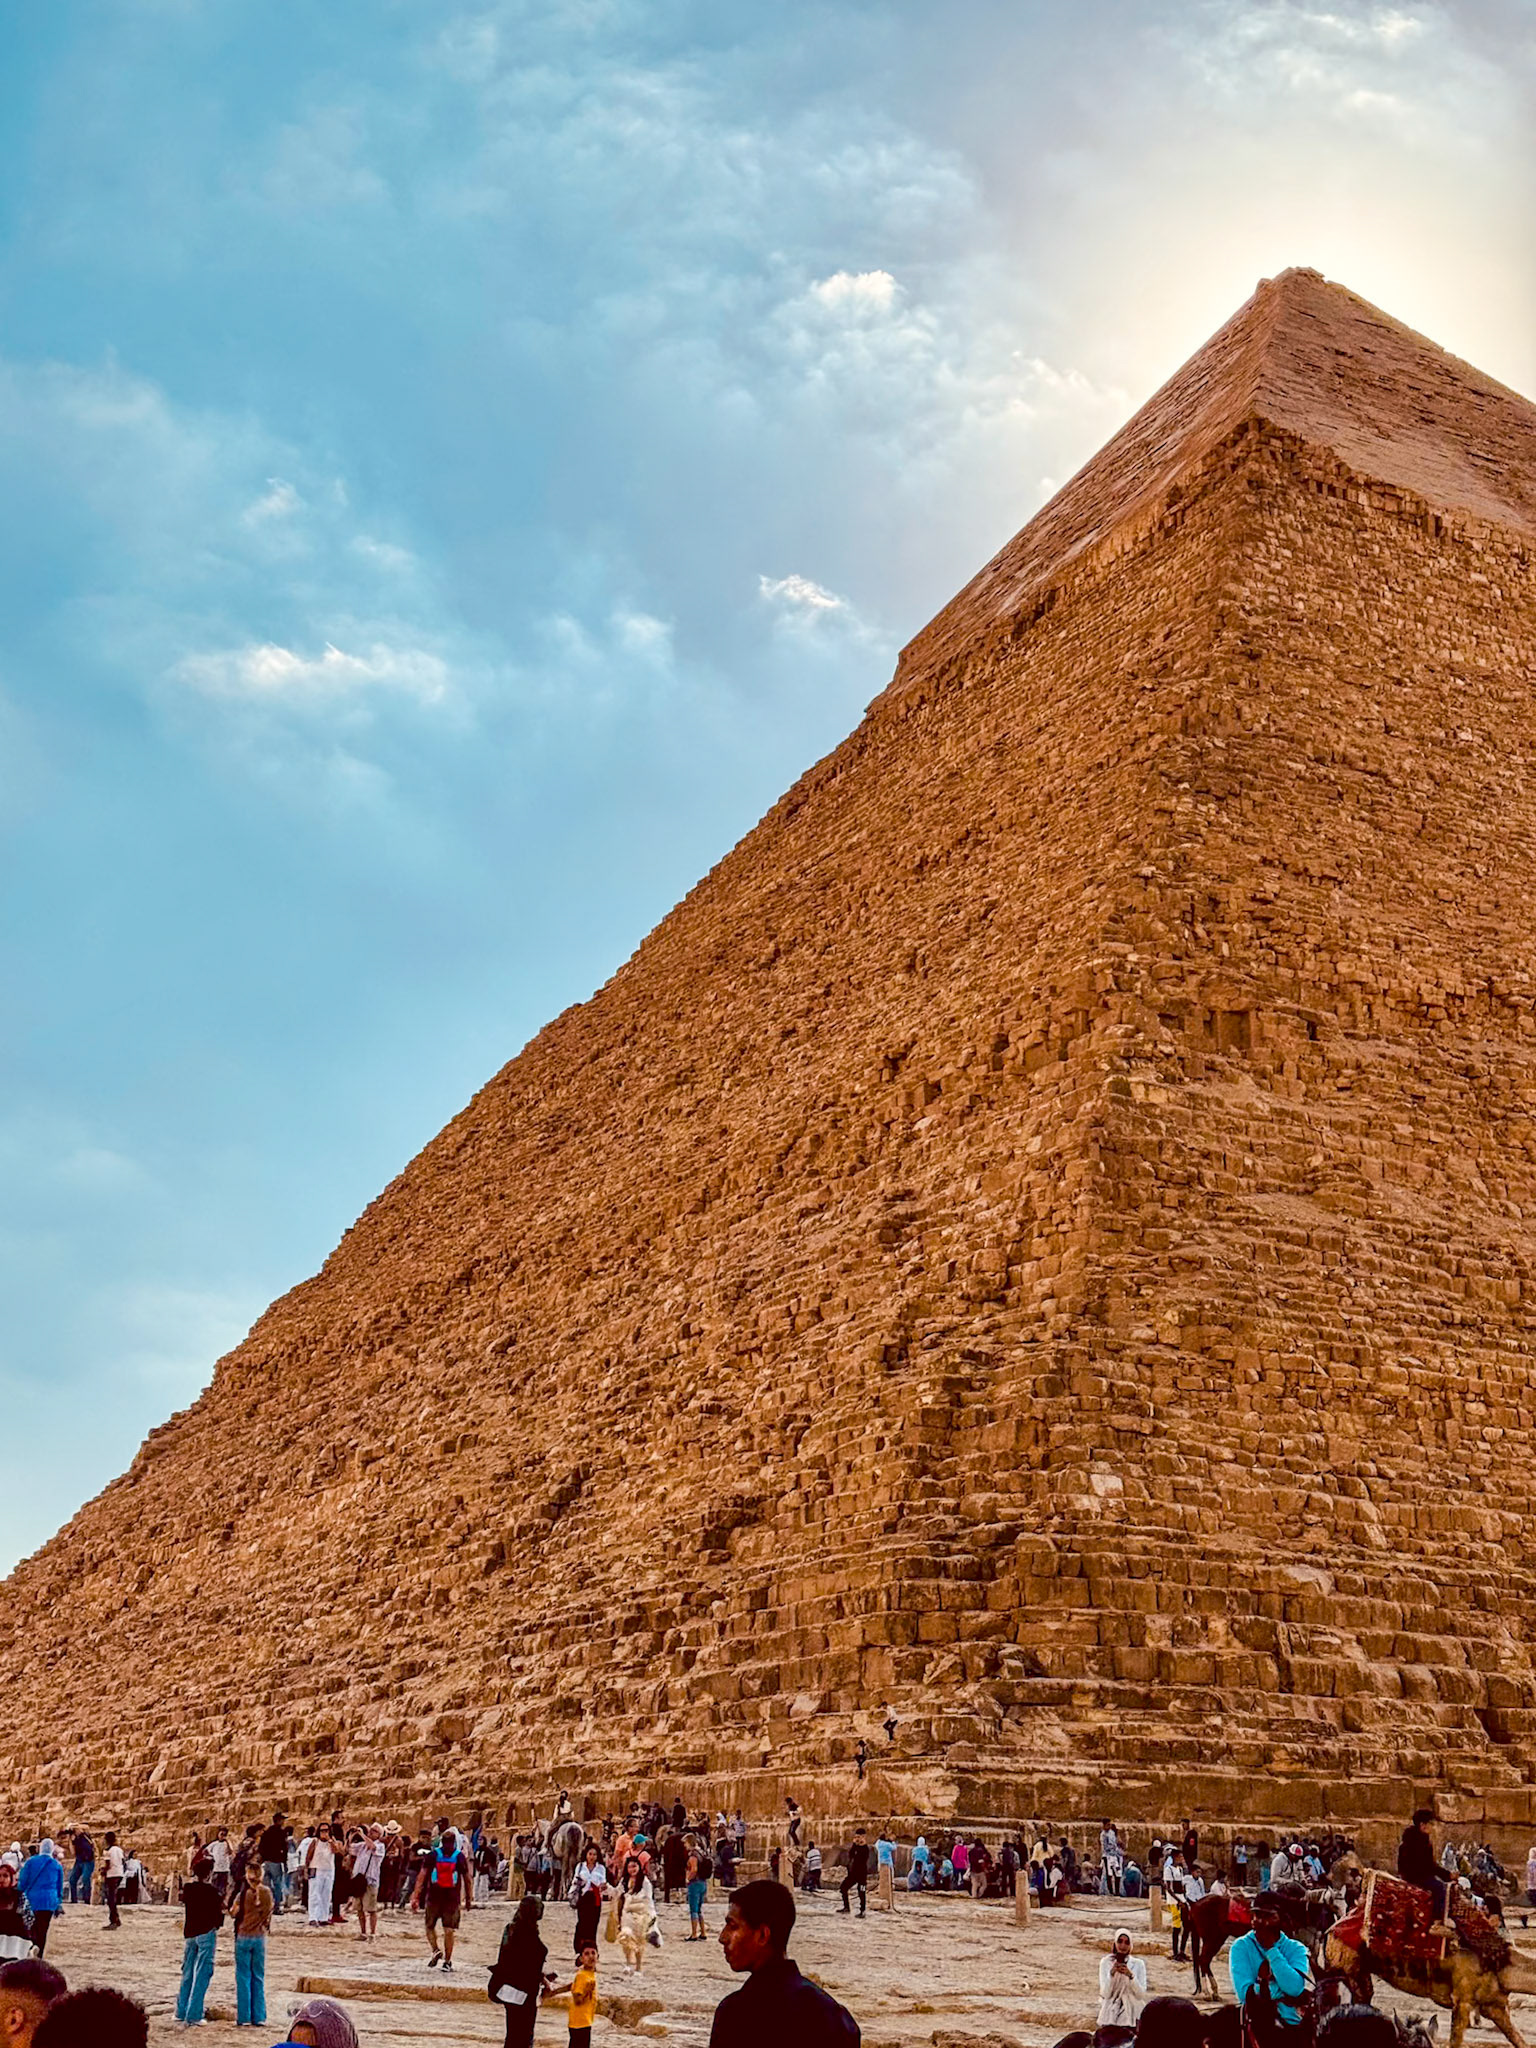
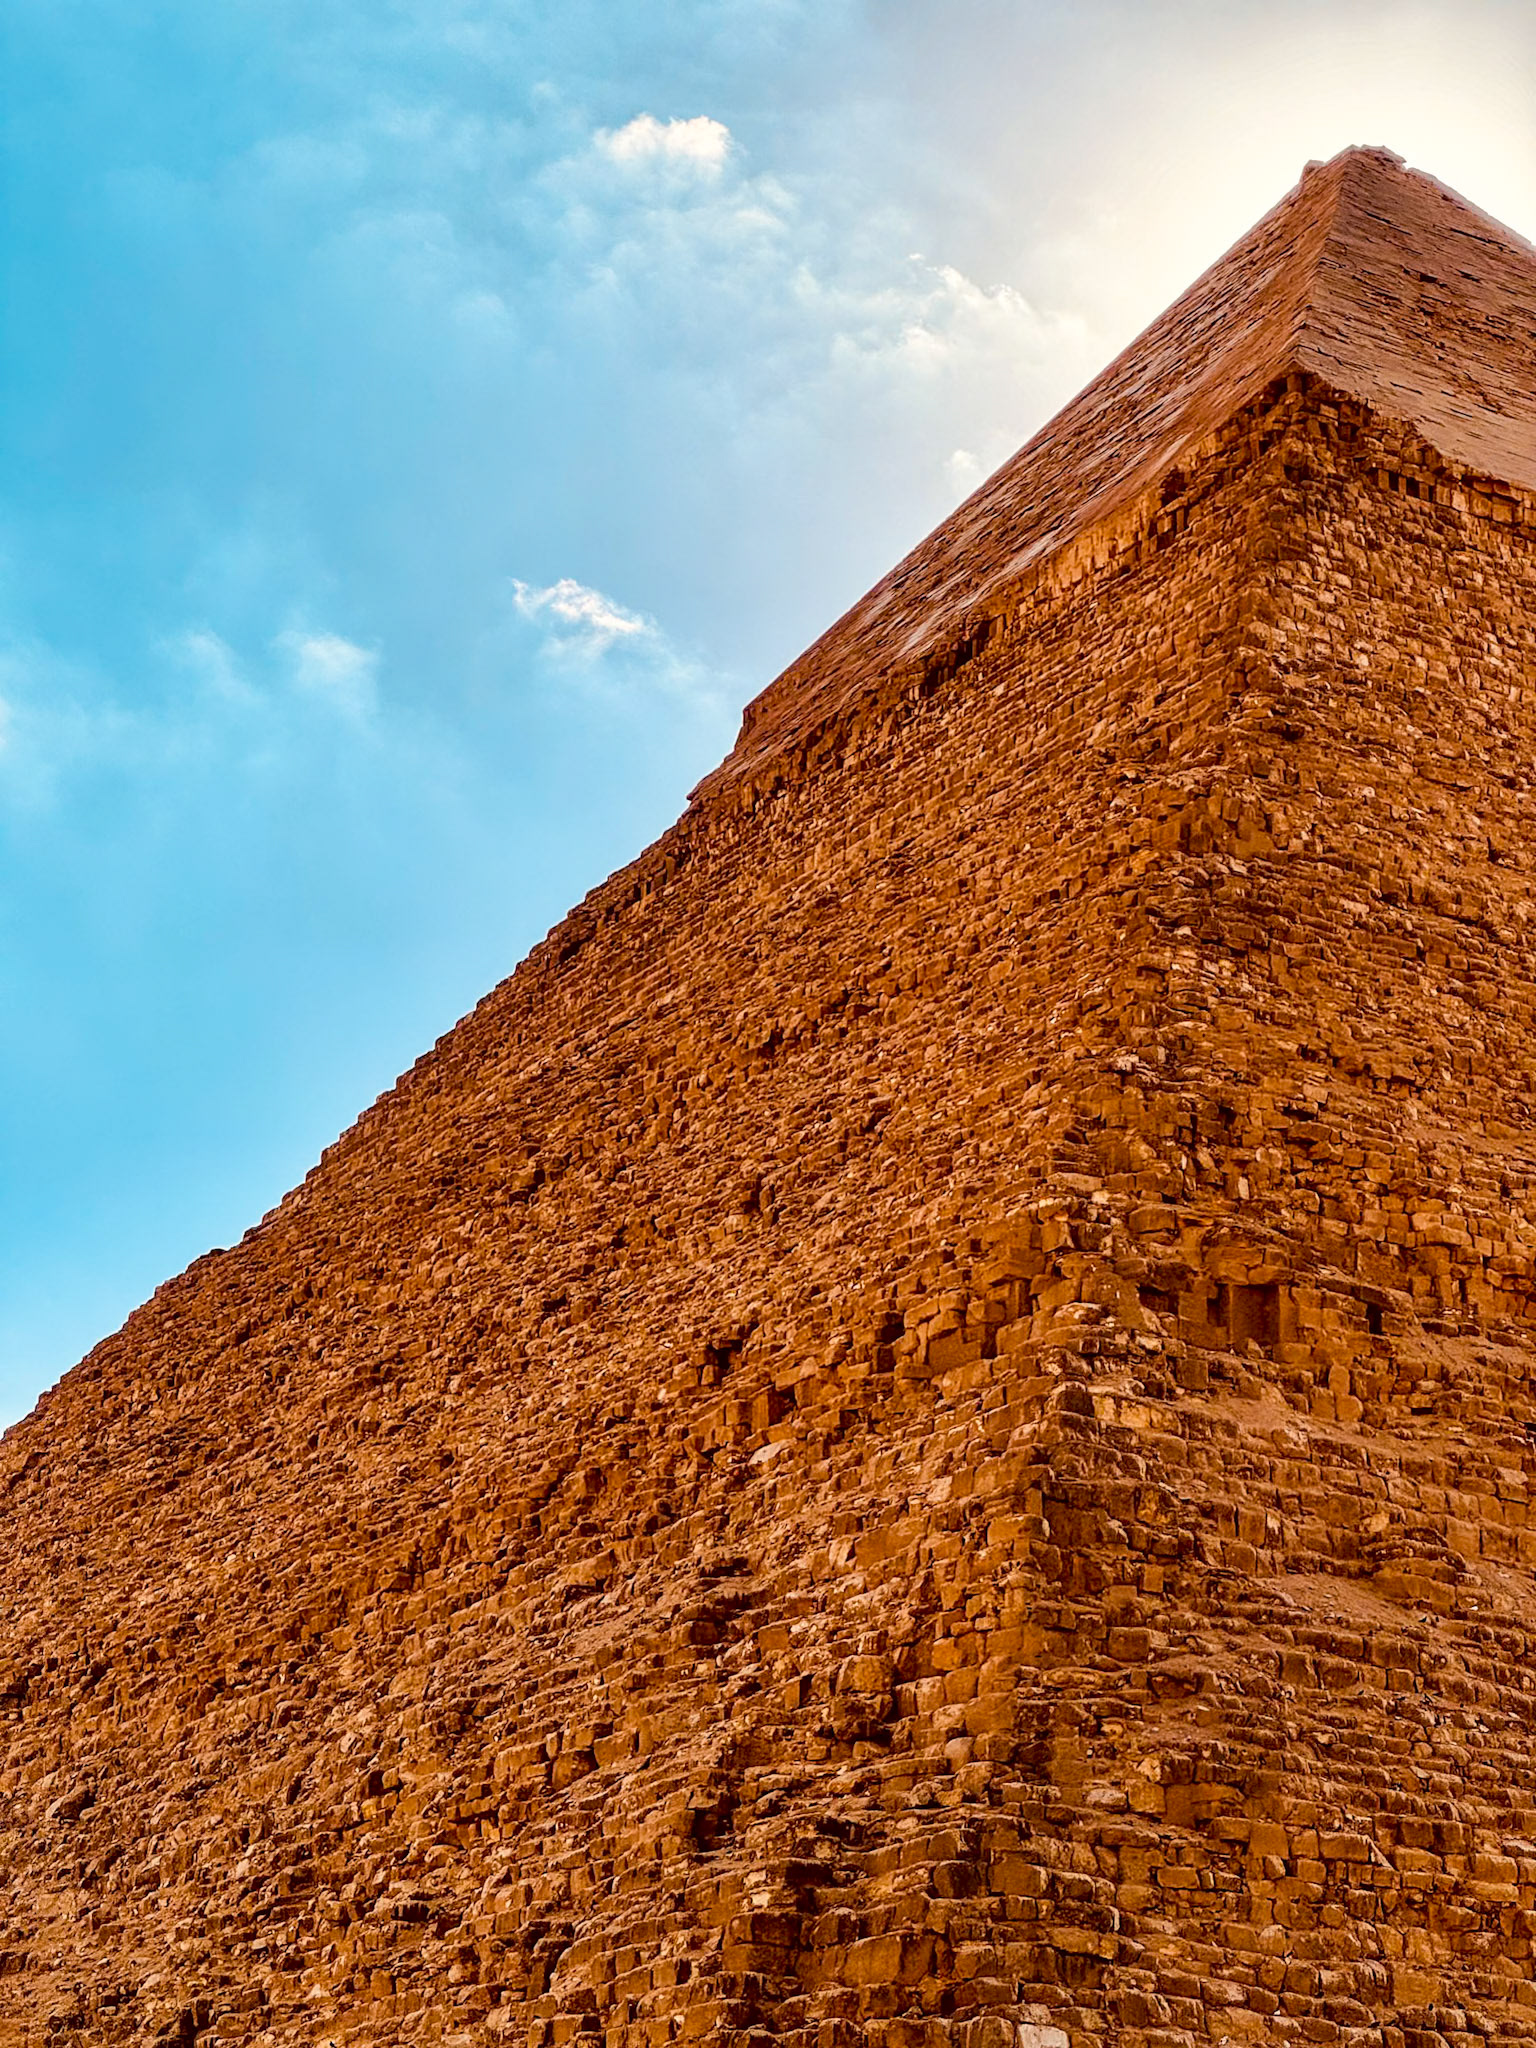
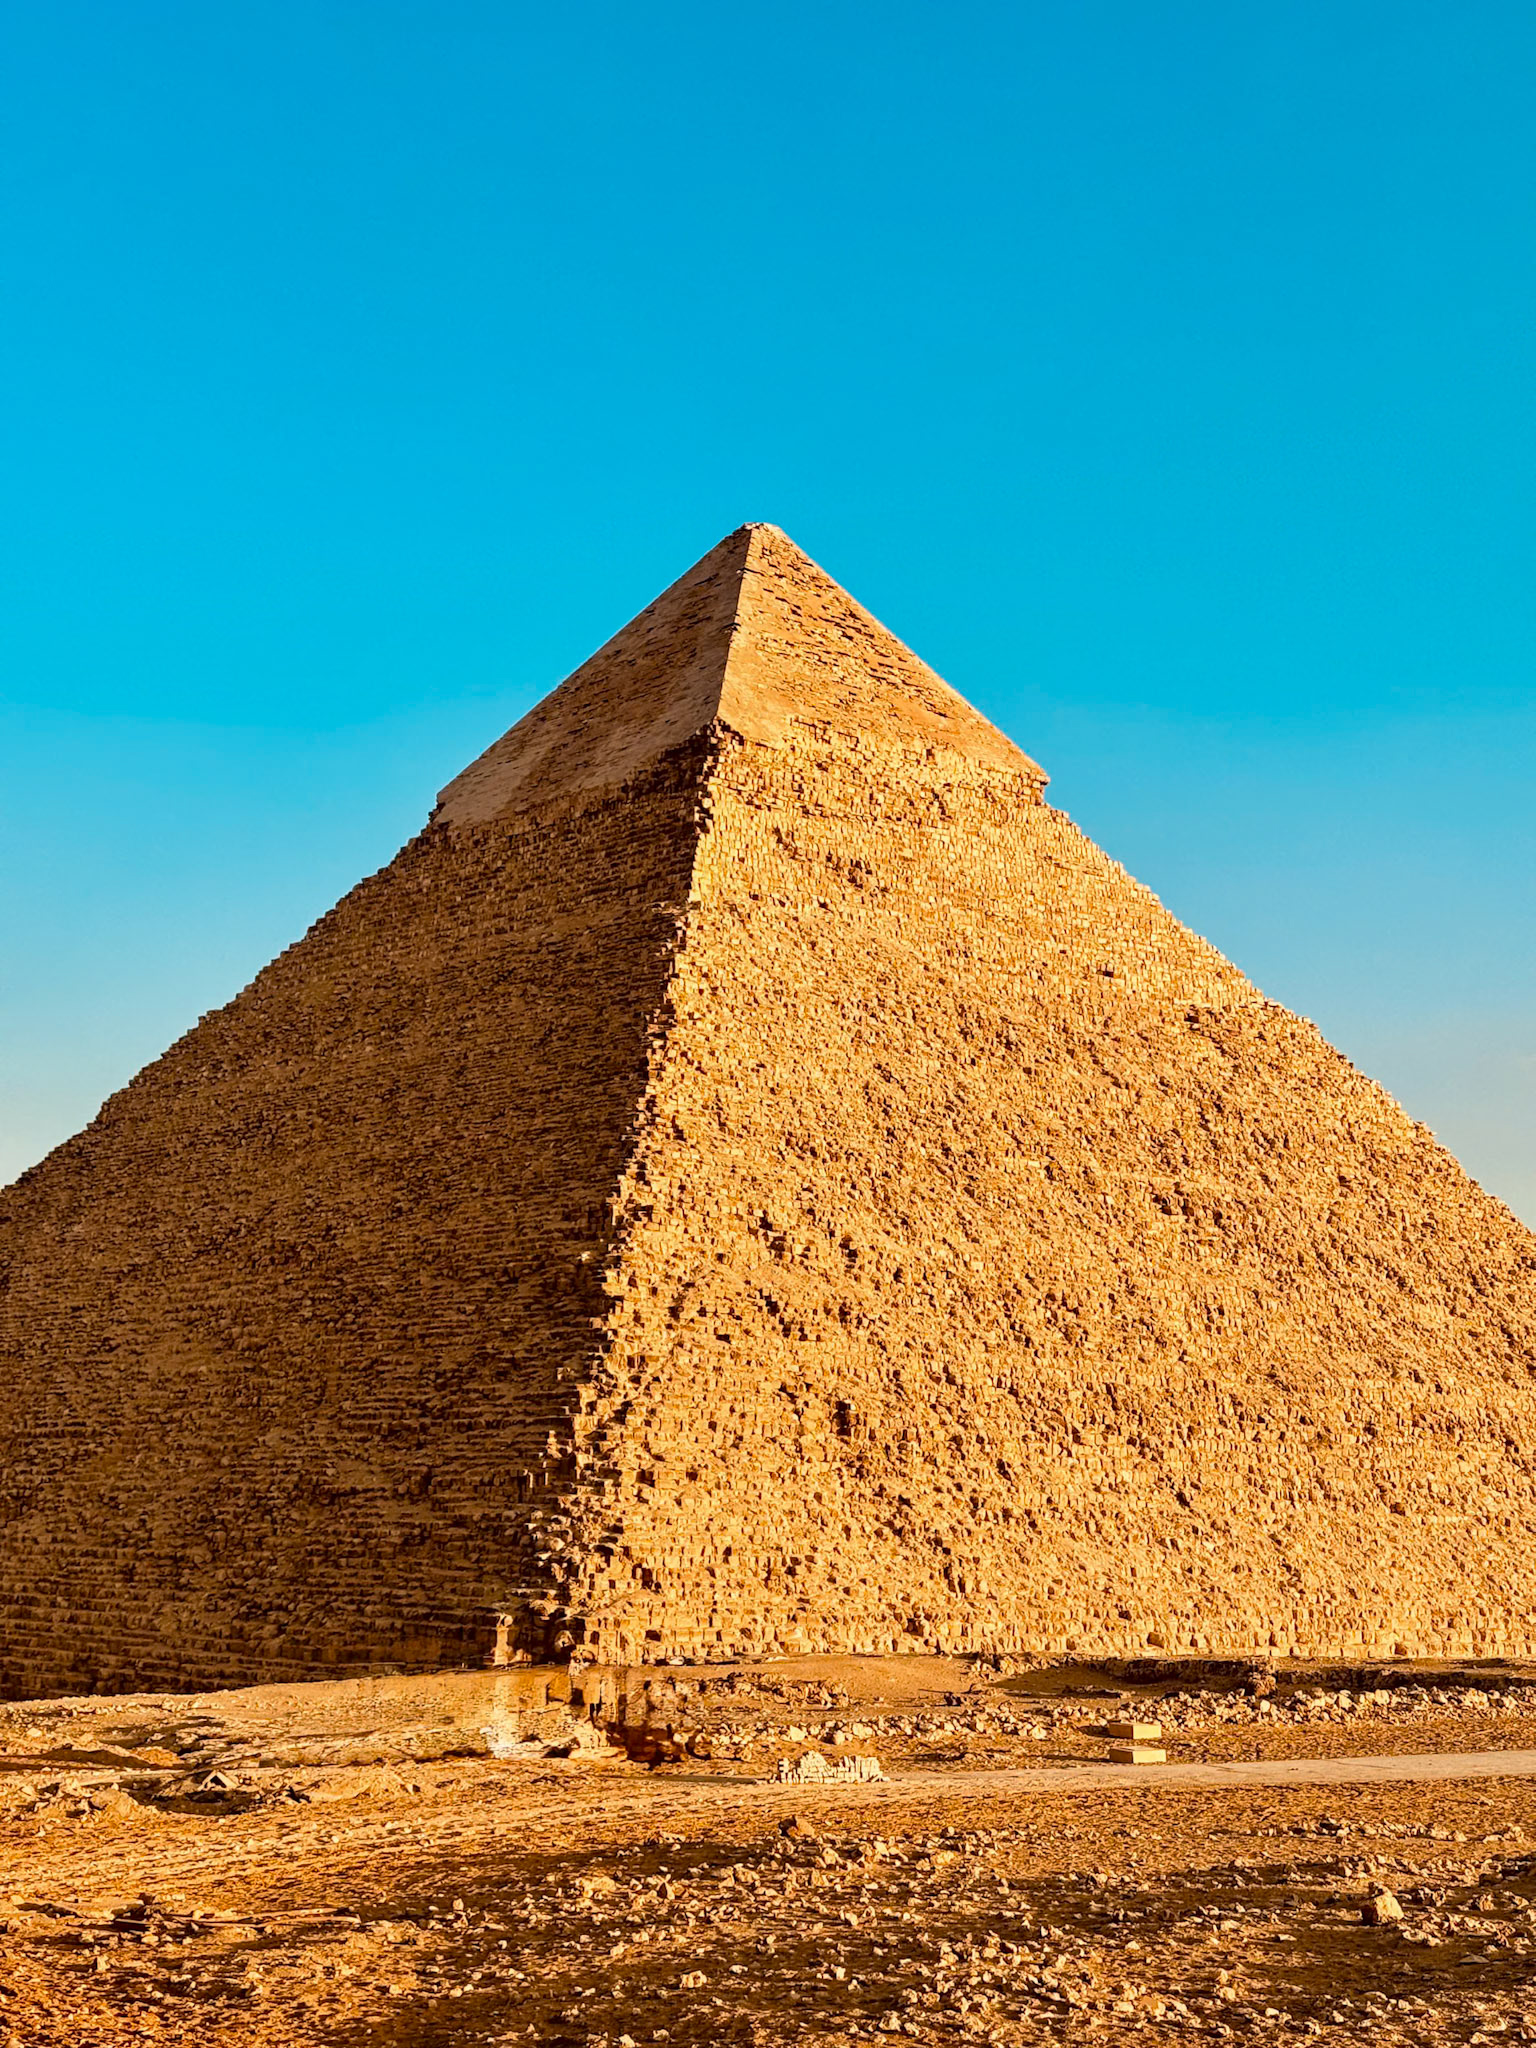
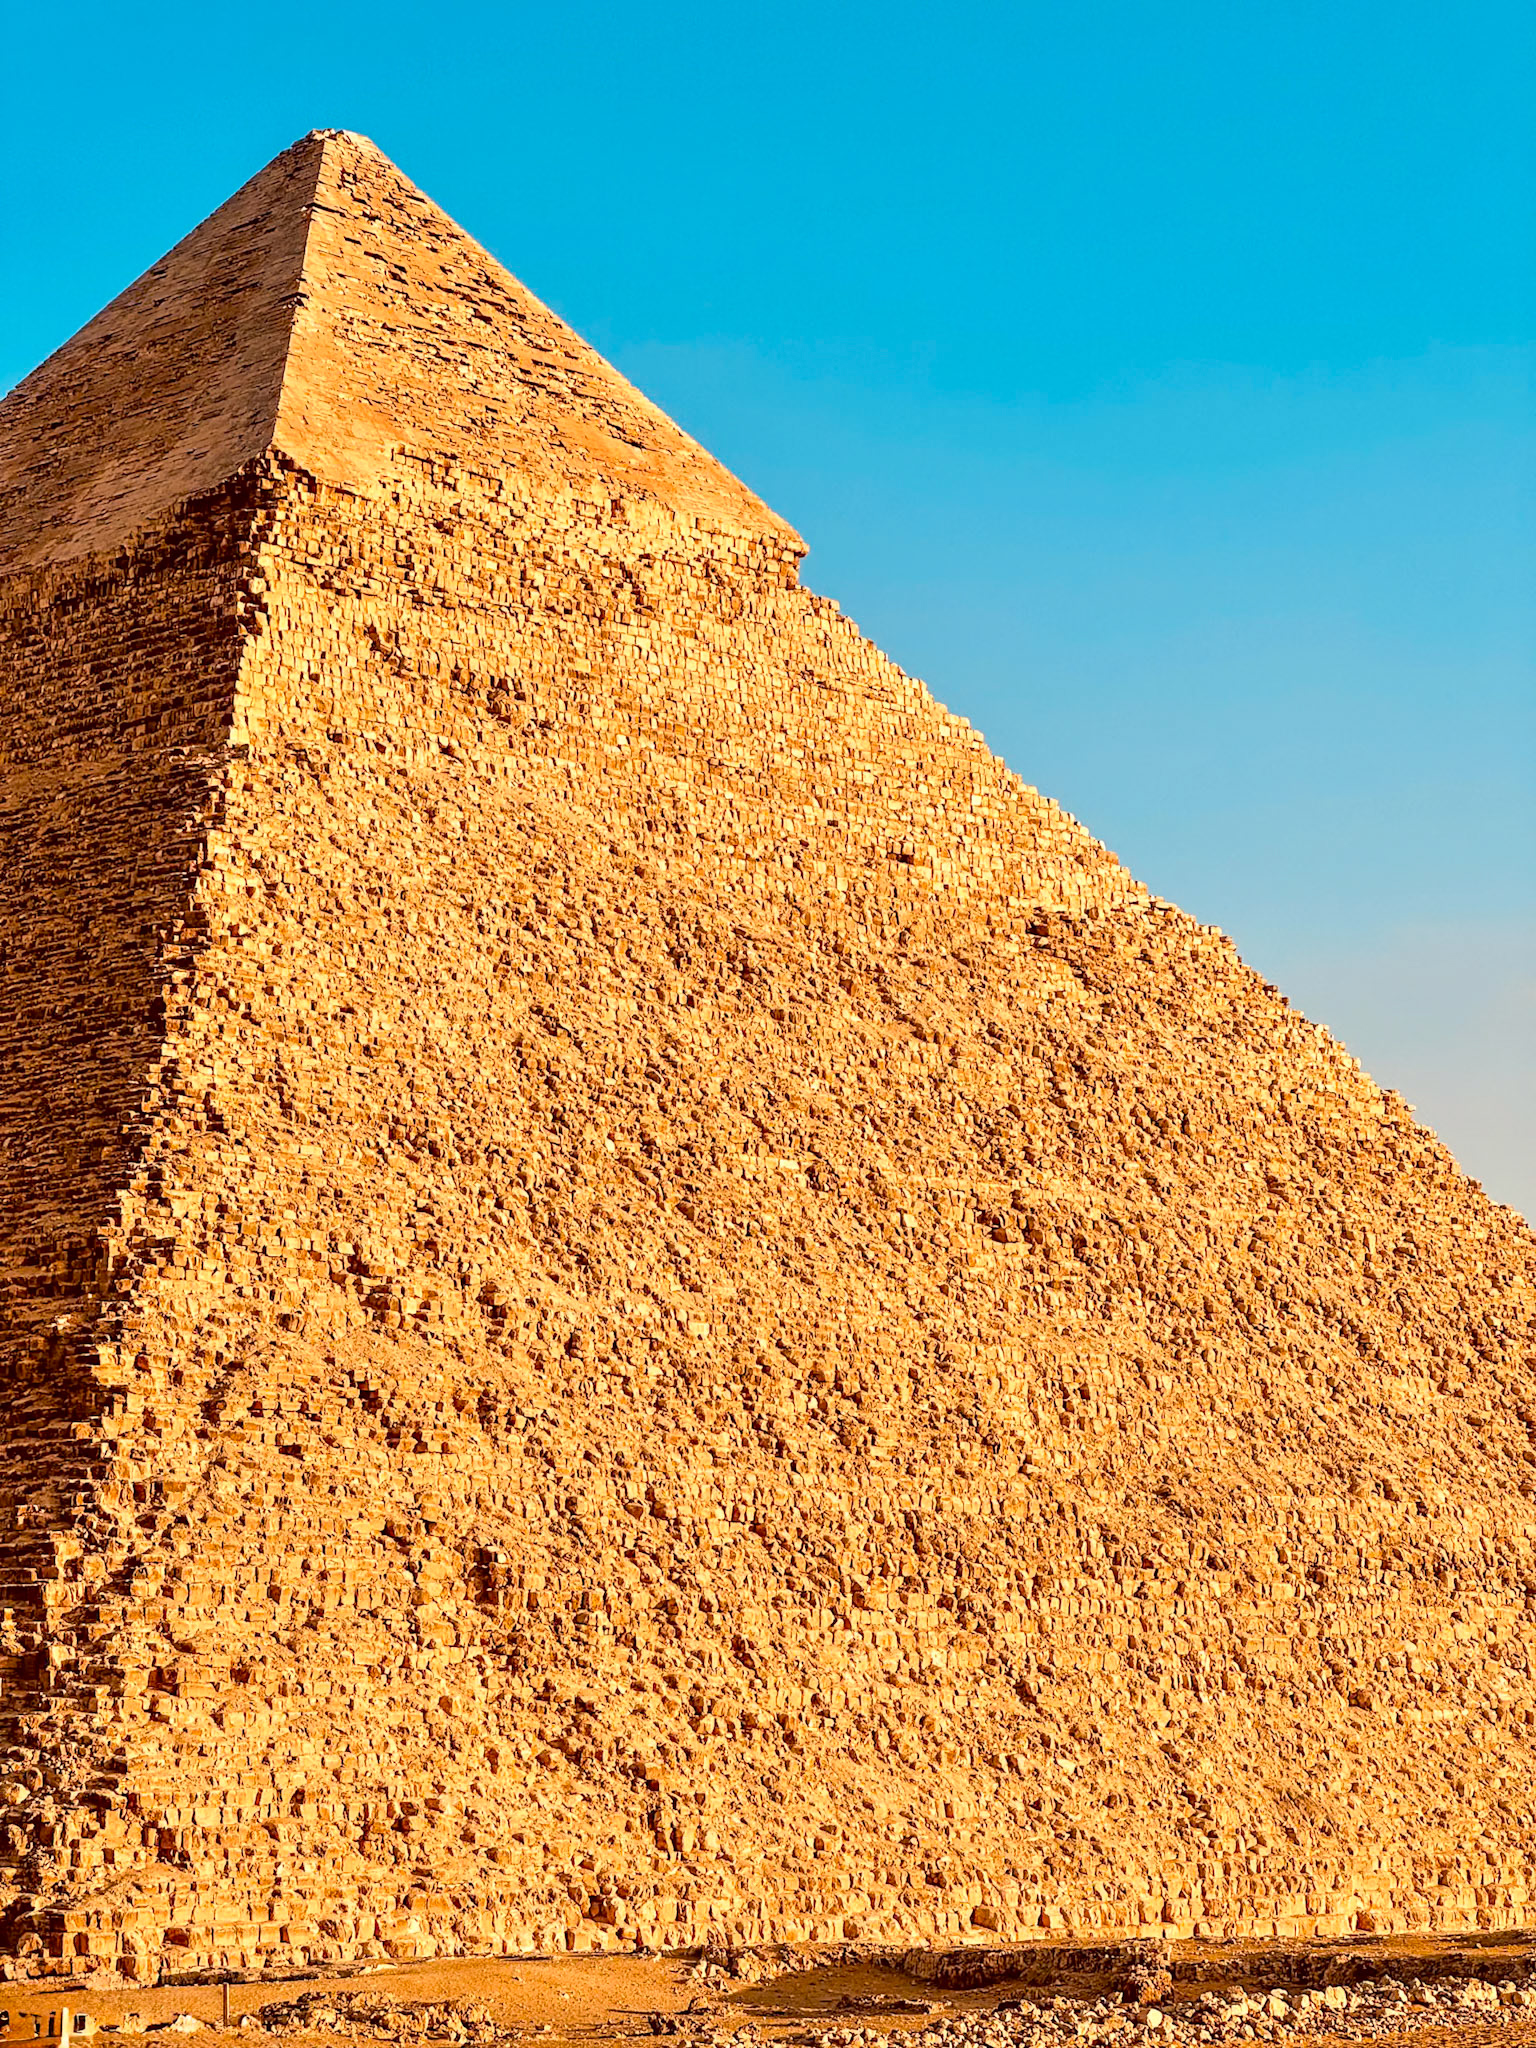
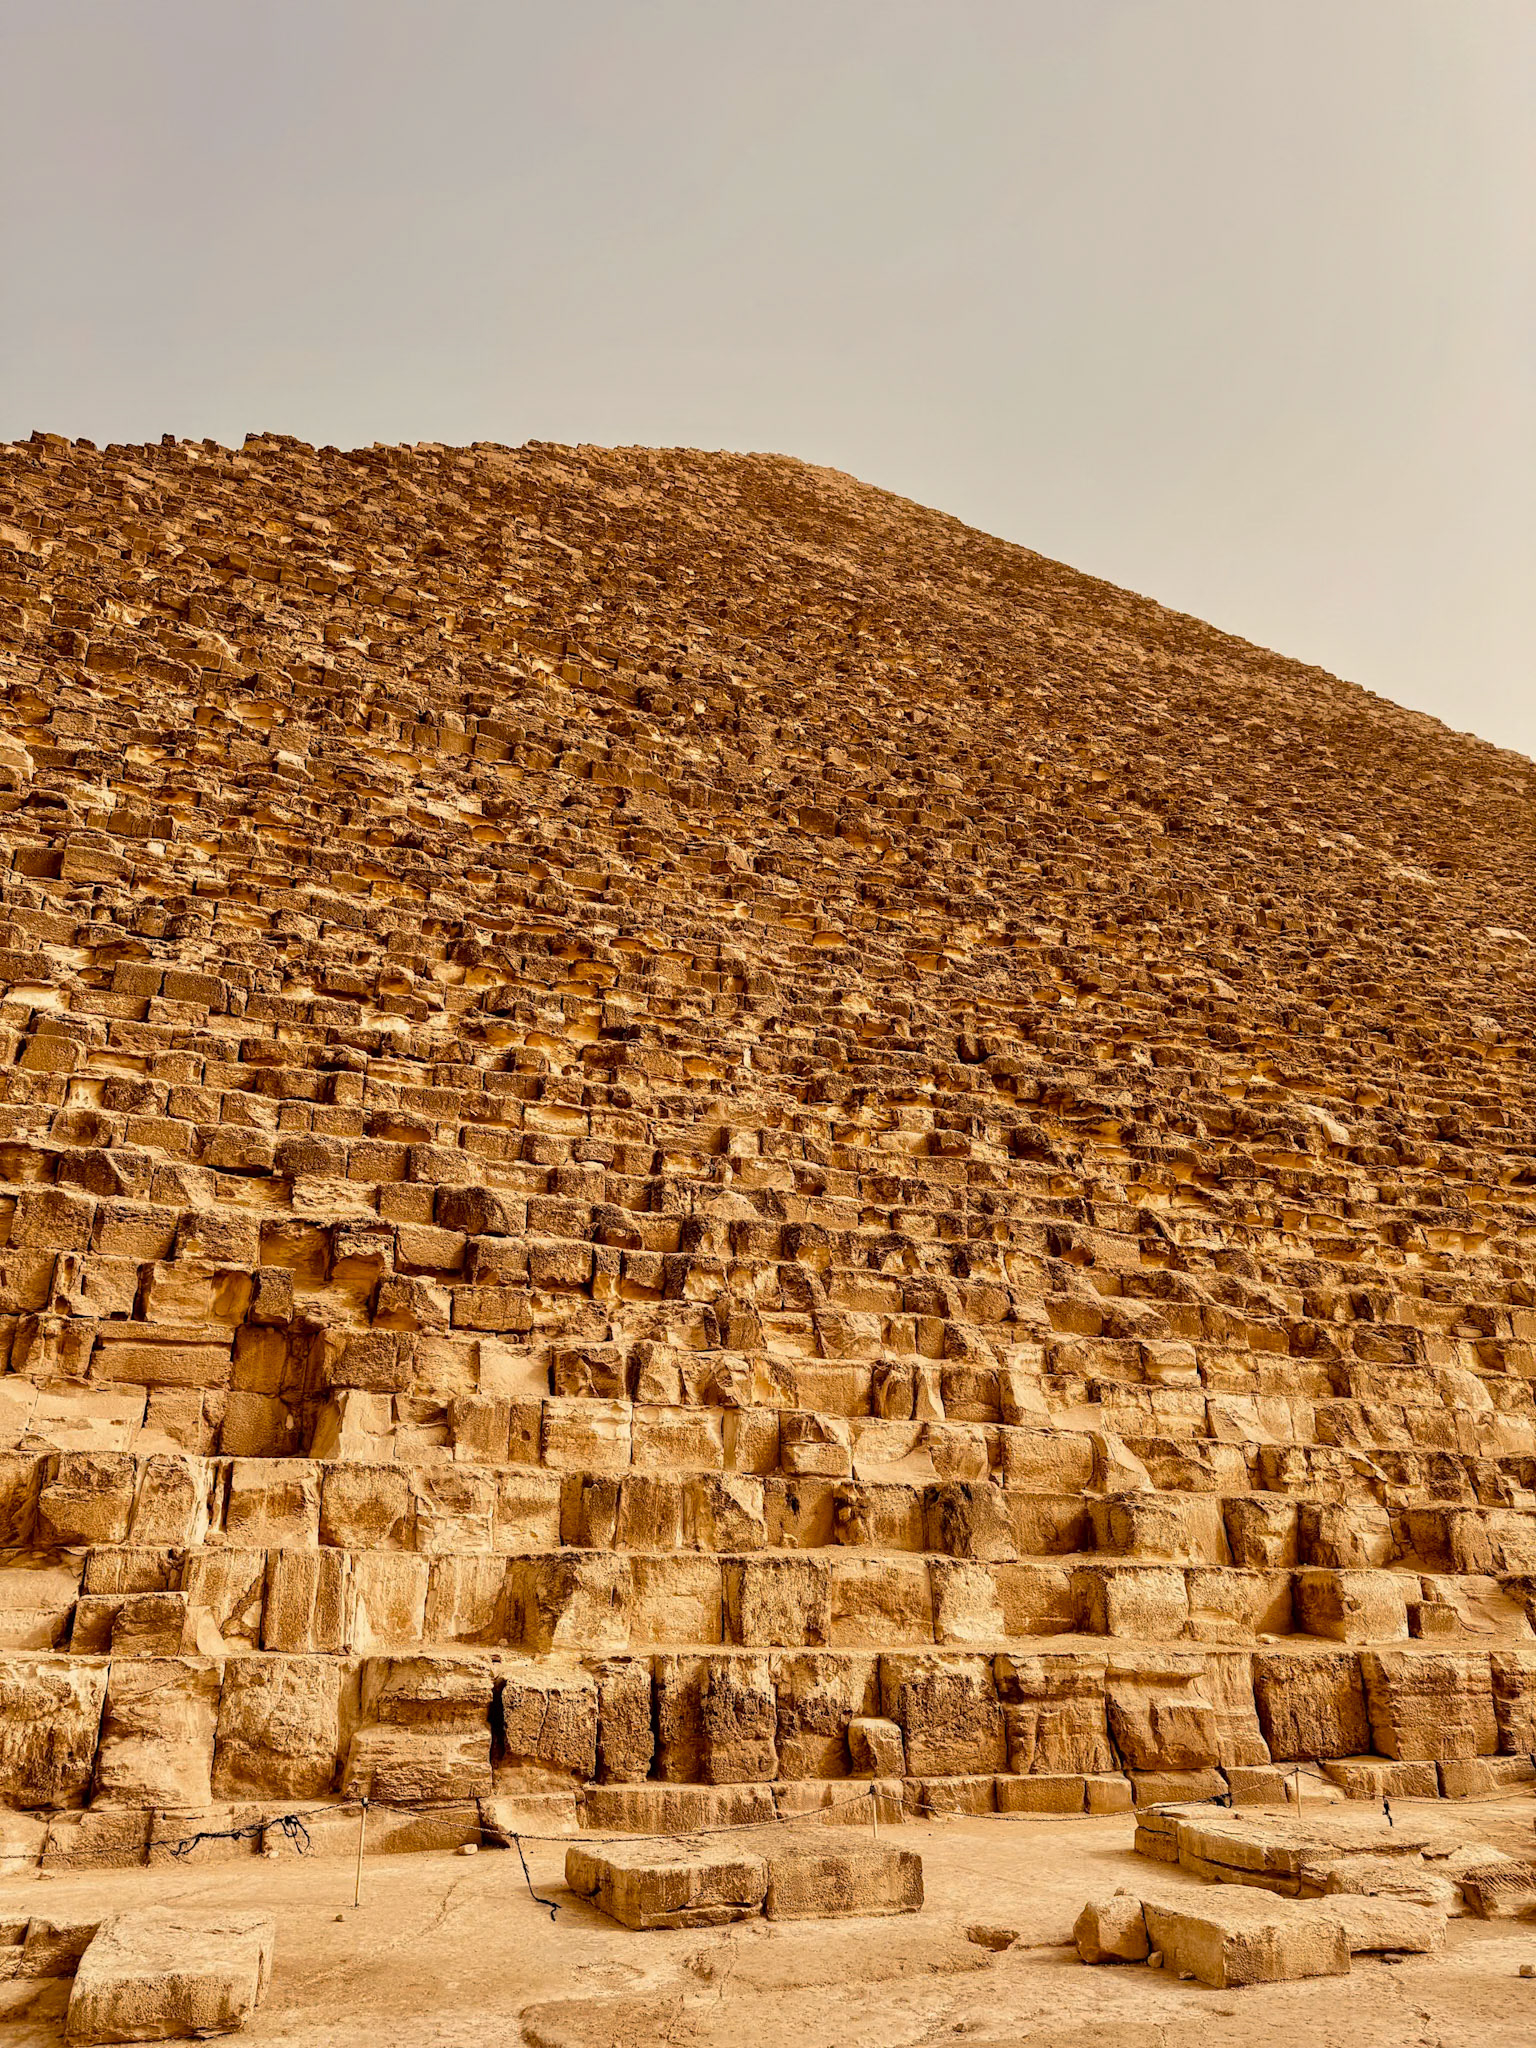
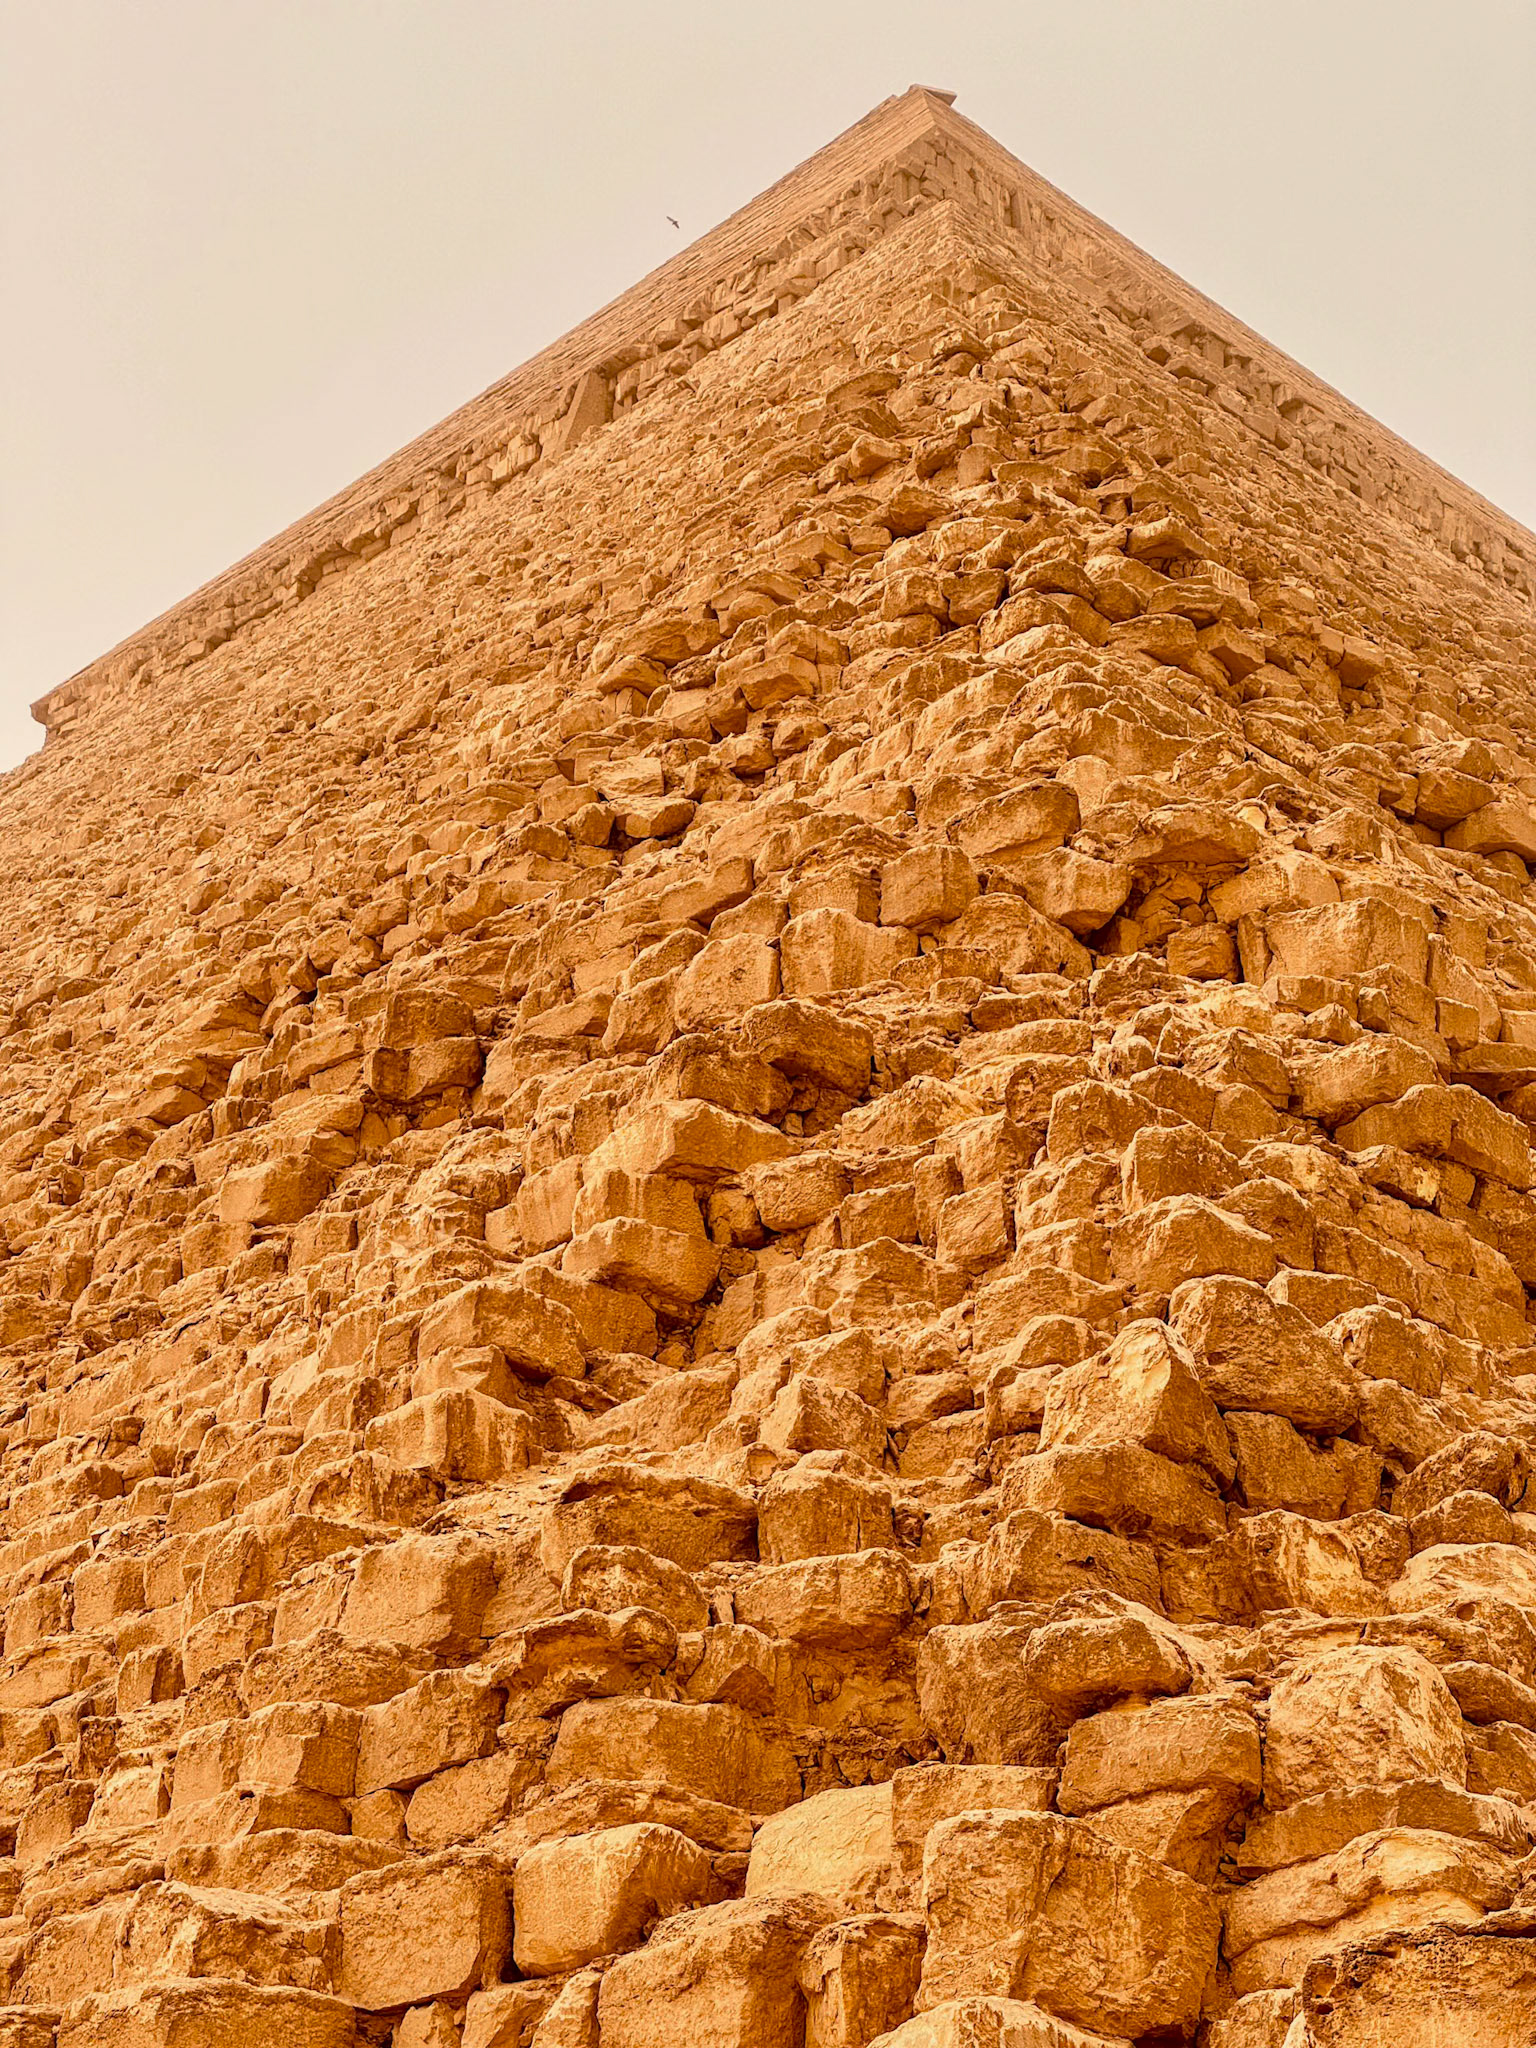
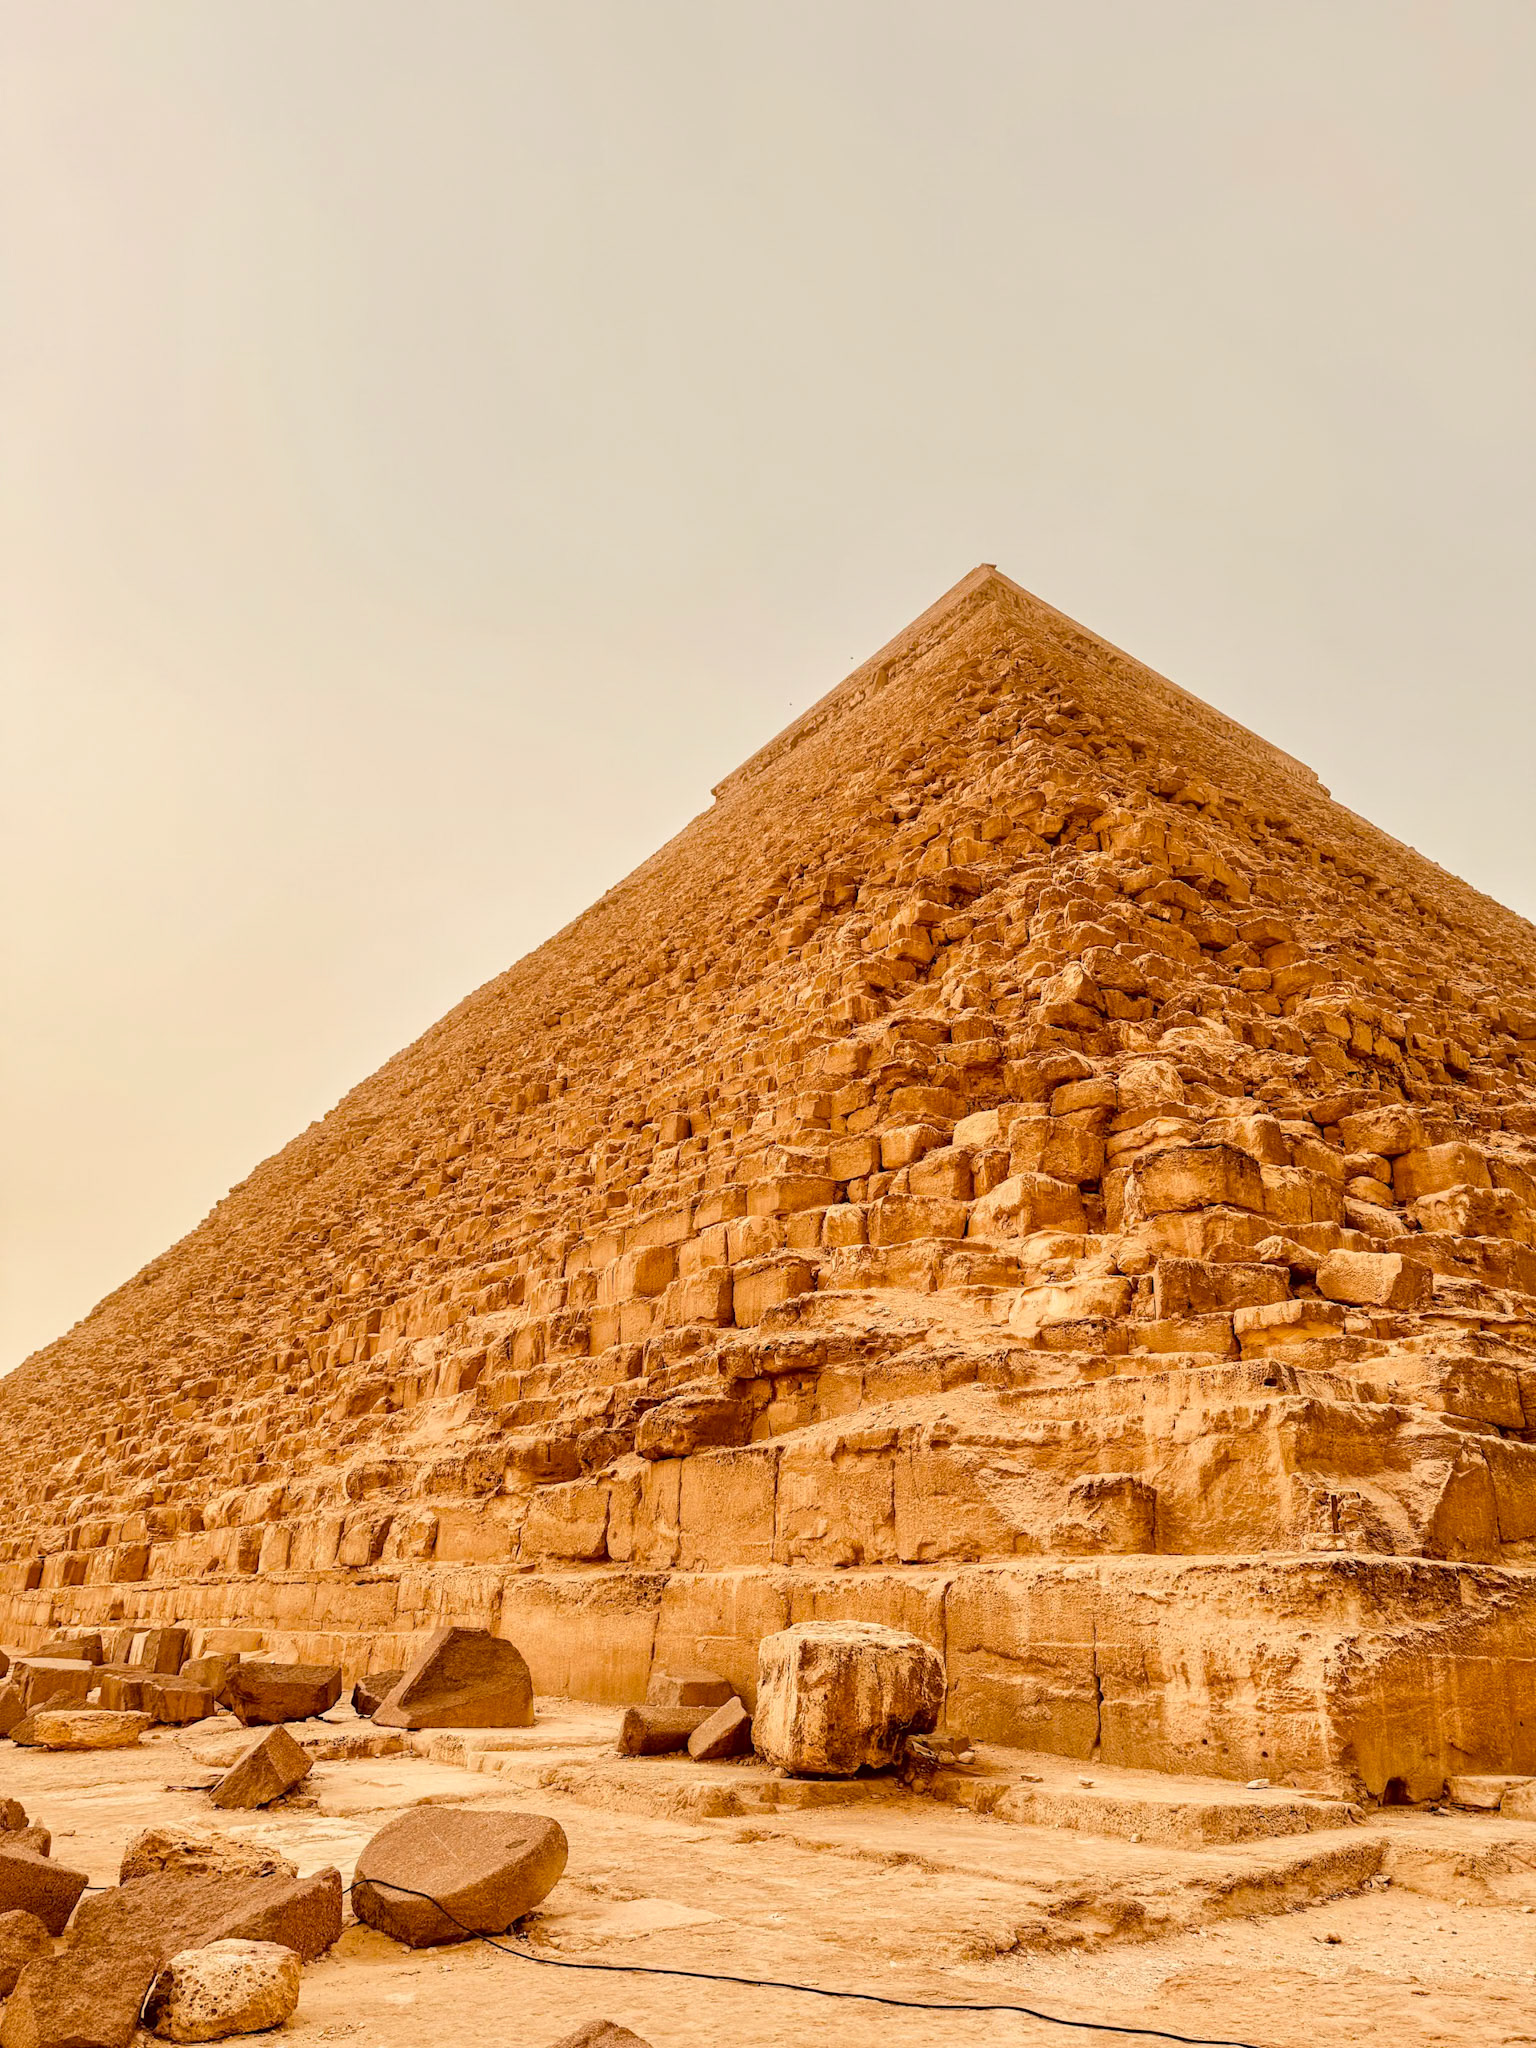
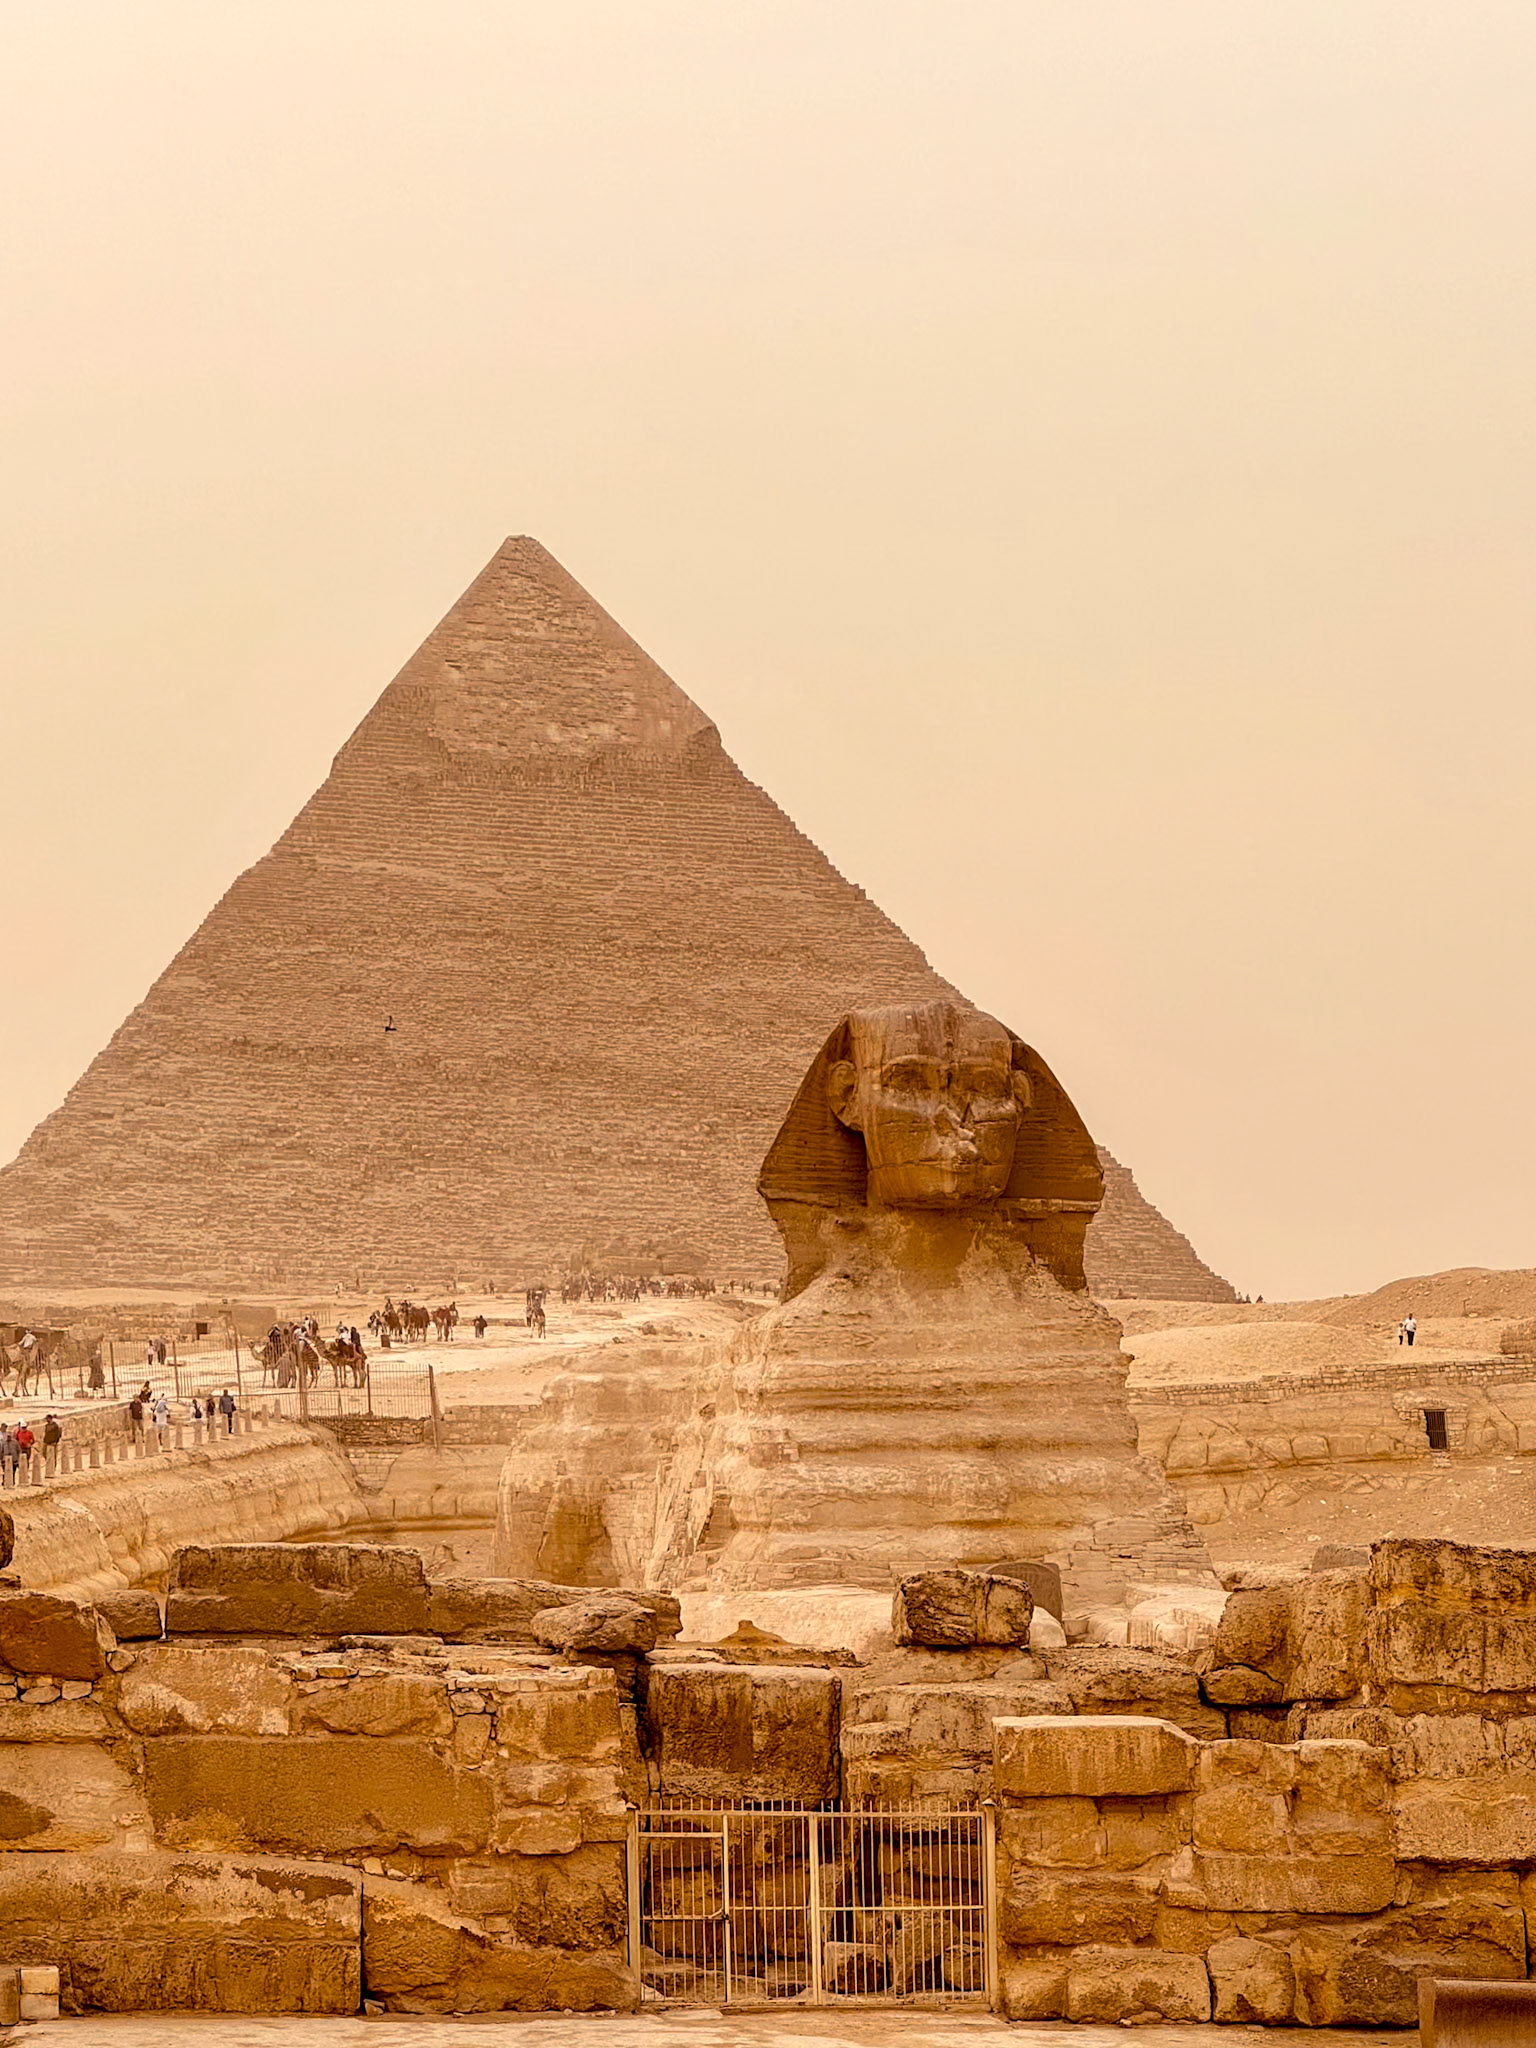
1. Khufu’s Southeastern Apex (The Scale Shot)
To convey the true mathematical scale of the last remaining Ancient Wonder, you need a point of contrast.
The Frame: Stand at the southeastern corner of the Great Pyramid looking up.
The Taktik: Wait for a lone camel or traveler to enter the lower third of your frame. The human-to-monument ratio is what makes this shot work.
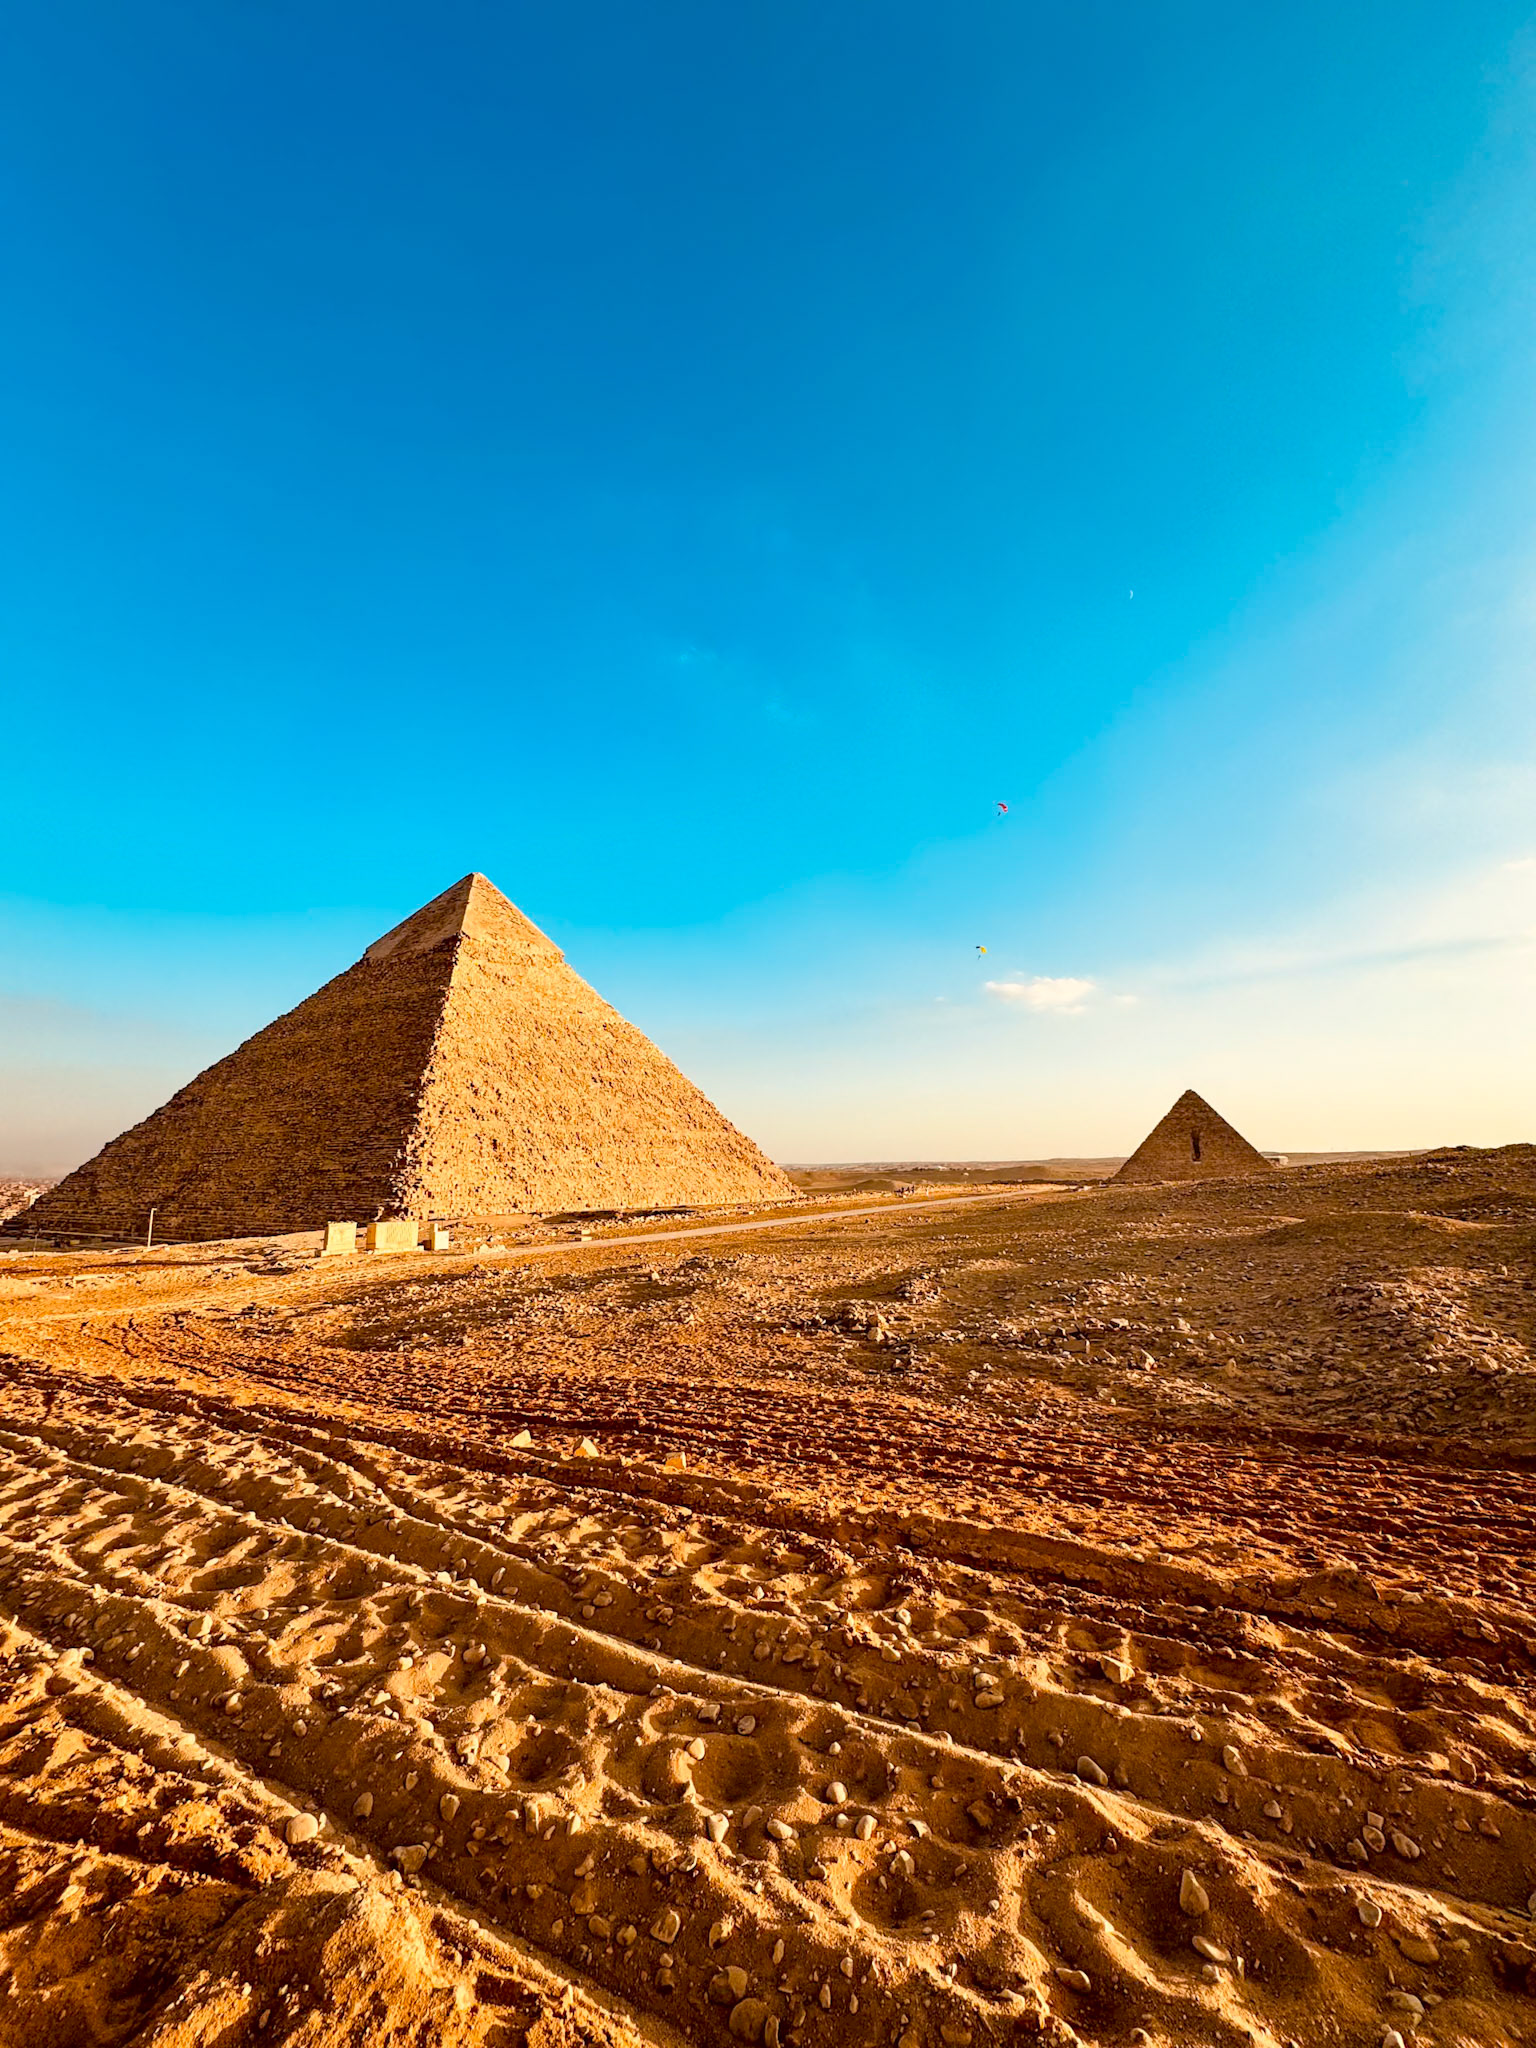
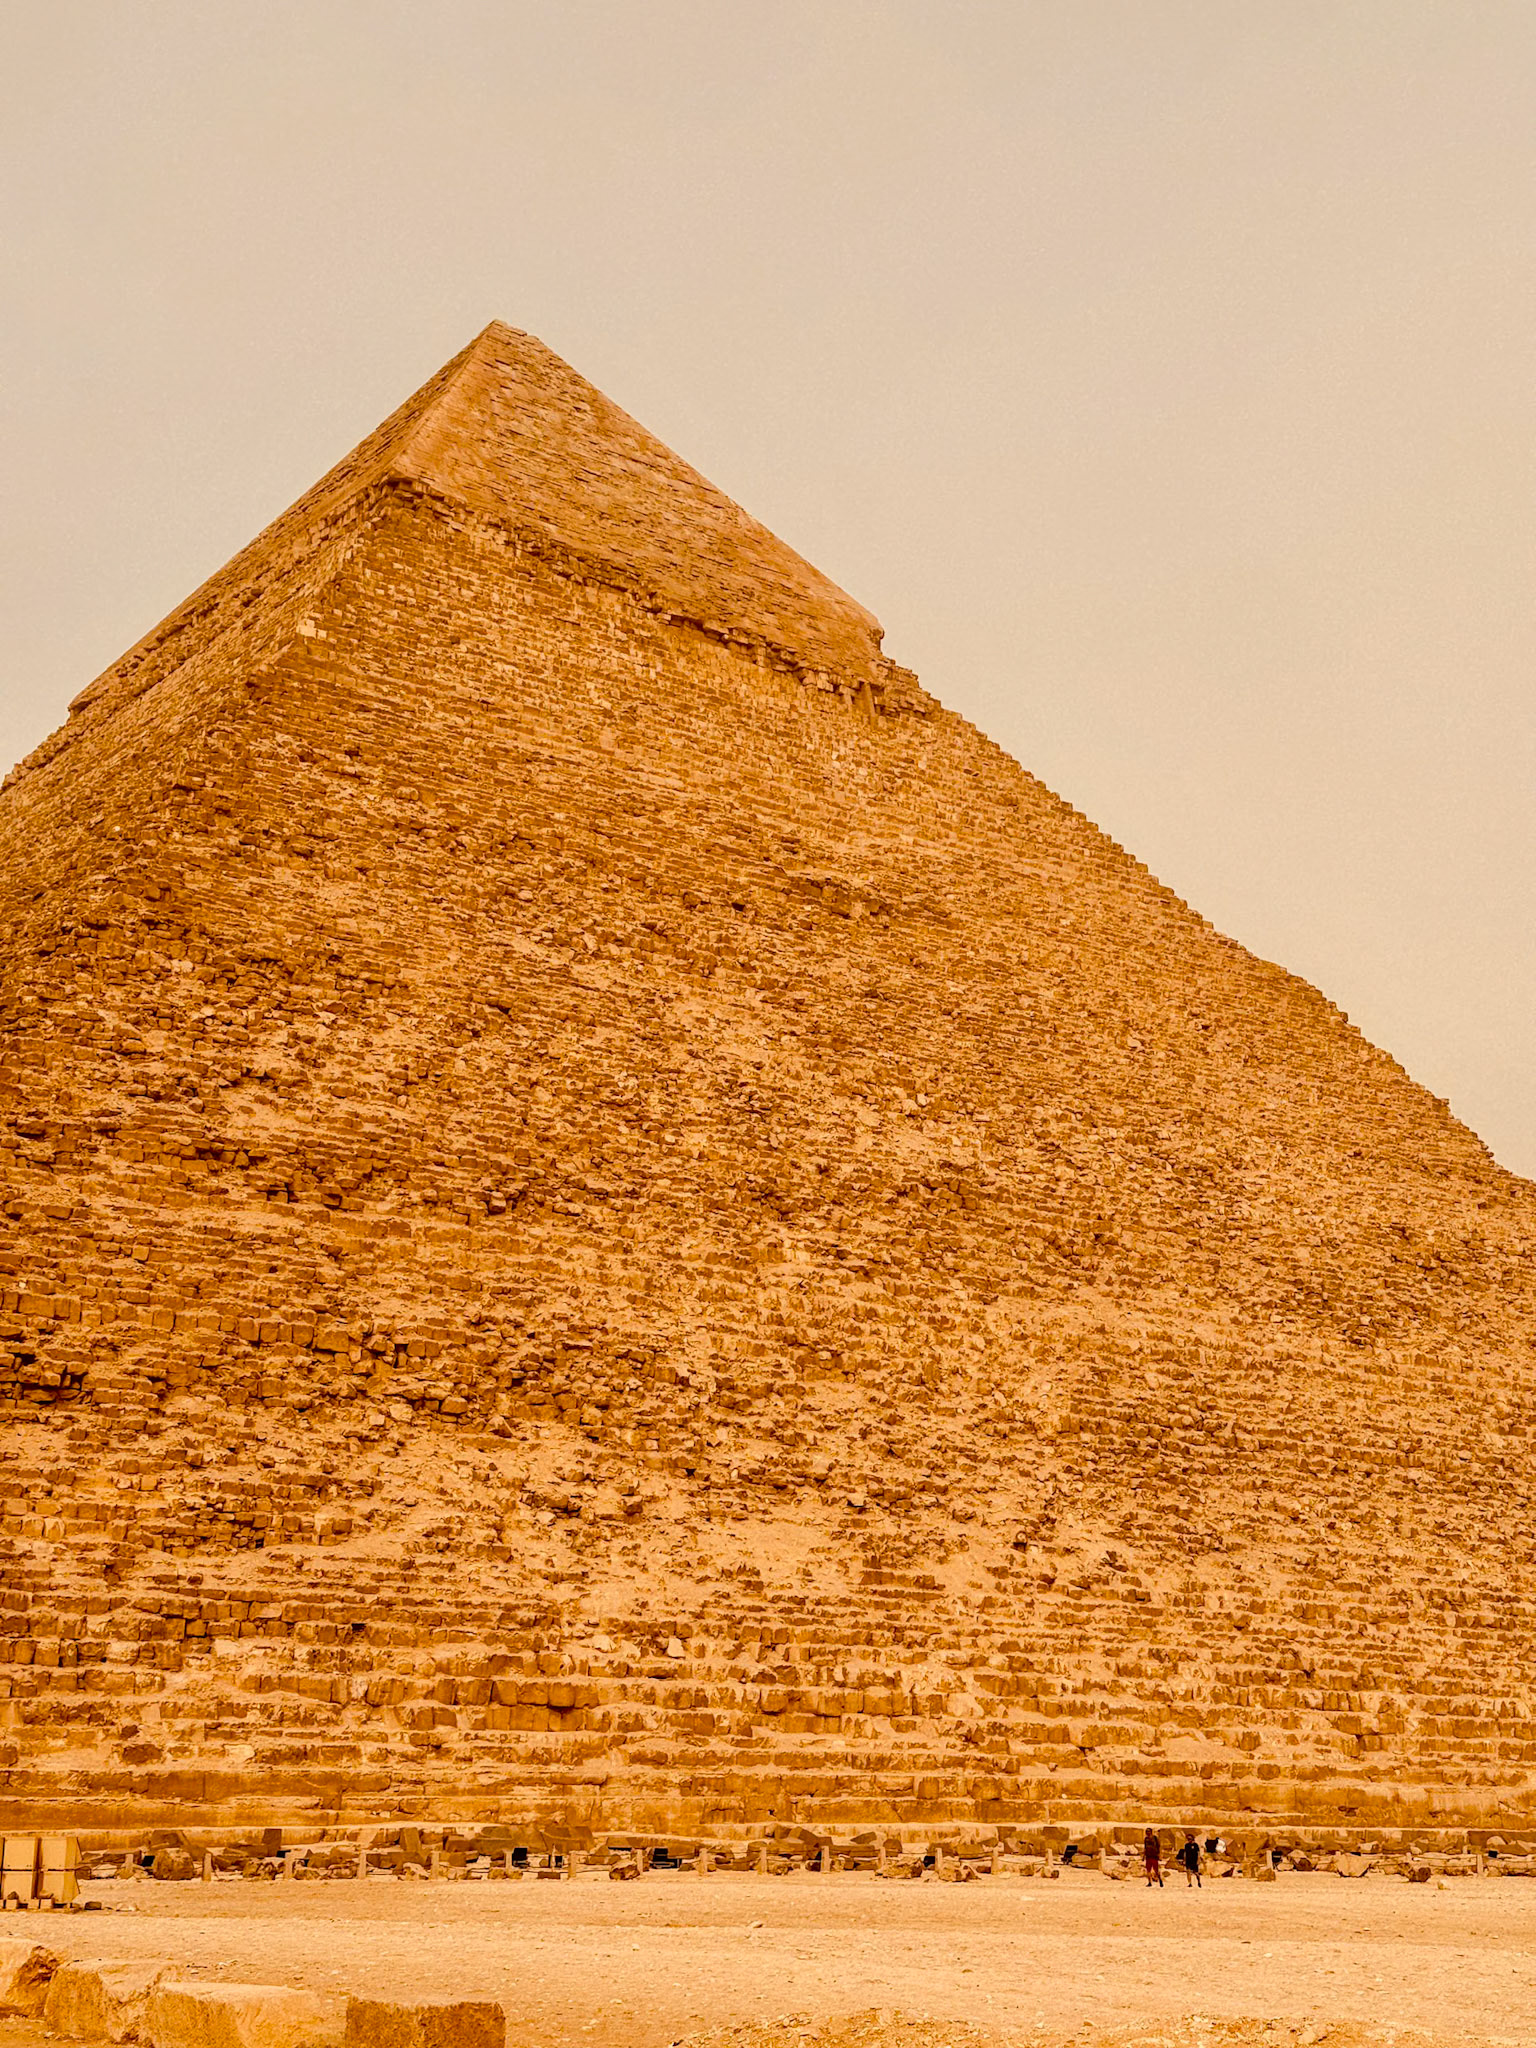
2. The 9-Pyramids Panorama (The Compression Shot)
Located deep on the western desert ridge of the plateau.
The Frame: This spot allows you to line up Khufu, Khafre, and Menkaure alongside their smaller queen pyramids in a layered sequence.
The Taktik: Use a telephoto lens here. Step back and zoom in to trigger lens compression—this pulls the distant pyramids forward, making them appear tightly stacked and imposing.
3. The Isolated Dunes (The Infinite Desert)
The Frame: Walk 15 minutes past the main tarmac paths into the open dunes to the south.
The Taktik: Look back toward the plateau to frame the monuments isolated by sand ridges, effectively erasing the modern city of Cairo from your frame.
🛑 Handling the Touts: Protecting Your Focus
The persistence of the local vendors (touts) is legendary. Here are the survival rules I use to protect my shooting space:
The "La, Shukran" Protocol: Say it firmly once without breaking your stride, look straight ahead, and completely disengage.
The Fake Authority Scam: Never hand your ticket to anyone unless you are at an official, walled security checkpoint.
The "Free Gift" Trap: Vendors may try to place a headscarf on your shoulder. It is not a gift. Keep your hands flat on your camera straps and refuse politely but firmly.
The Escort Tactic: If the hassle becomes overwhelming, hire a camel driver for an hour. Once you are paying one local, the others will generally leave you alone, buying you a quiet perimeter to shoot from.
🔍 Lens & Gear Advice (The Technicals)
Since the Giza Plateau is one of the harshest environments for gear, your choice of glass is critical.
Recommended Focal Lengths
The "Daily Driver" (24-70mm): This covers 80% of your needs, from wide landscapes to tighter architectural details.
The "Compression Tool" (70-200mm): Essential for the Panorama Point. It makes the pyramids look massive and tightly grouped.
The "Interior Specialist" (16-35mm): Only necessary if you plan on shooting inside the tight corridors of the pyramids or tombs.
Essential Accessories
Circular Polarizer (CPL): Non-negotiable for cutting through desert haze and making the blue sky pop against the limestone.
Weather Sealing: Prioritize weather-sealed lenses. The Saharan dust is incredibly fine and can easily jam zoom mechanisms.
Rocket Blower: Never wipe your lens if there is sand on it. Blast it off first to avoid scratching the glass.
⚡ Quick Field Tips
No Drones: Drones are strictly illegal in Egypt and will be confiscated at the airport.
Tripods: Large professional tripods can sometimes attract unwanted attention from tourist police. A heavy-duty tabletop tripod or shooting handheld with high ISO/stabilization is often a safer bet for a smooth day.
Golden Hour: Aim to be at the gates the second they open. The pused, soft morning light is far superior to the flat, harsh midday sun.
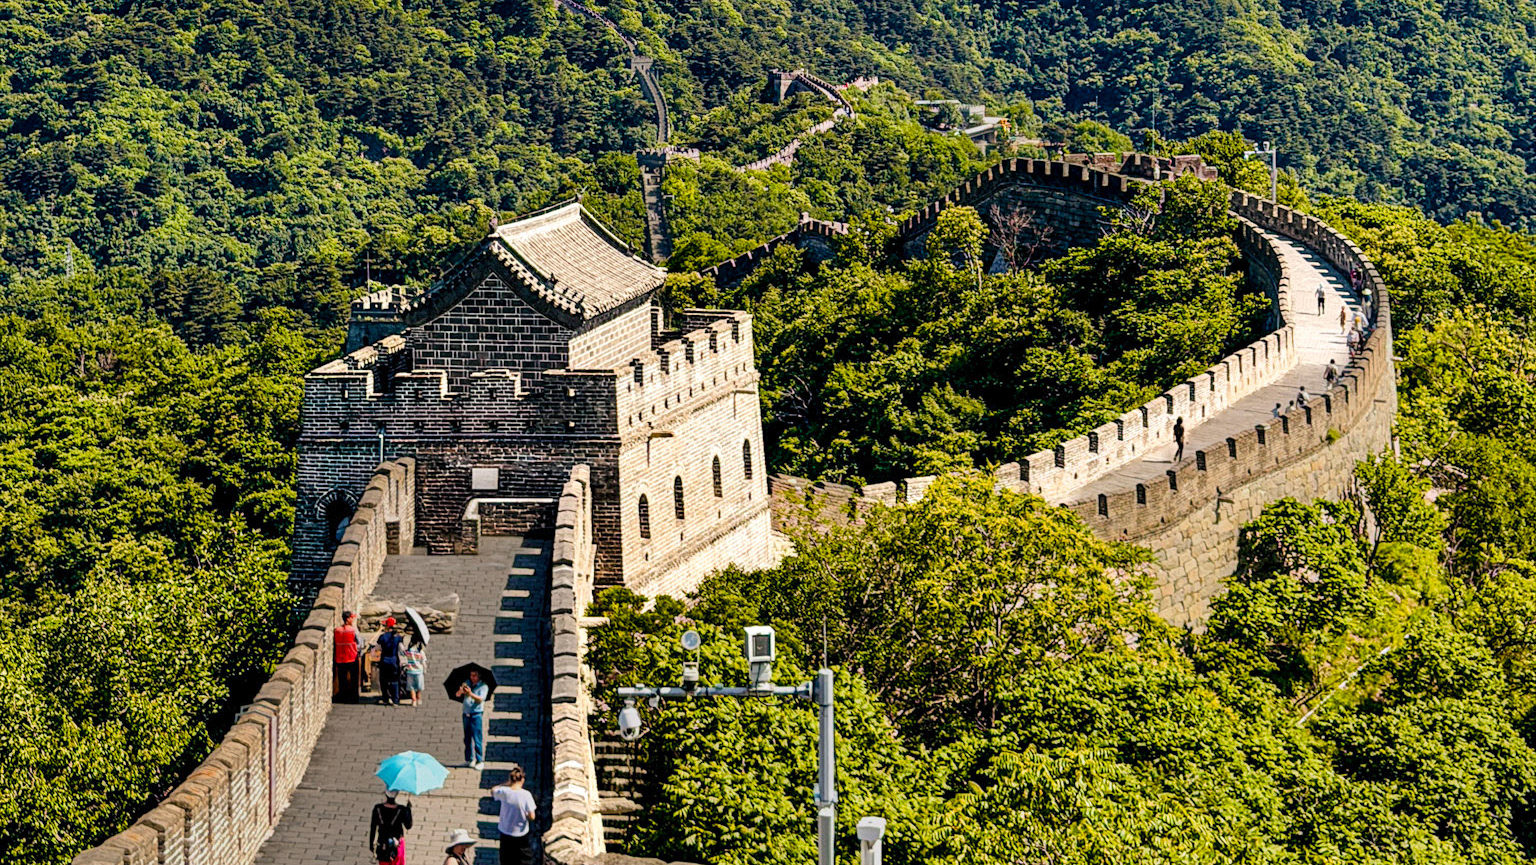
just like my experience at the Mutianyu Great Wall, timing and entrance selection at Giza are the two most critical factors for a successful shoot."